Great Birthdays come with a great cake. This Unicorn Cake will make it even better !
About this recipe
We already explored an Unicorn Cake (HERE), but today we are looking at a step up, improved but also more complex Unicorn Cake

This version of the layer cake took me several days to finish, for different techniques were used for this big mama !


About ingredients
● I did not specify quantities : Really depends on the servings and size you want so I wil let you decide!
● You may visit [61382*my page]] (HERE) that can guide you for the volume of your cake
● For the Rolling Fondant there are plenty of brands to choose from in the USA or UK. Each country has their favorite. In California, I have some choice, but I prefer Satin Ice, for its taste and texture. It tends to dry up (the elephant skin), but adding a tablespoon of Crisco helps remediate
● For the Butter Cream, I will show you some recipe, but any of your favorite works
● For the Gumpaste, I used to make my own myself, but honestly who has time? so a product bought in stores just works for me
● For the rest of ingredients, make sure they all are edible, like the food coloring used to paint as example
 Satin Ice White Fondant
 Gum Paste
Sketching
1. First step, I strongly advise you to sketch your cake. This will help organize and start preparing the ingredients and tools
Gumpaste
2. For the painted piece, you will start with Gumpaste. At start, this paste is soft enough, but dries up quite fast, so you need to make haste
3. Roll out the Gumpaste with a rolling pin (dedicated to fondant), 0.19" (or 13/64" or 0.5 cm) thick : To purchase online, see HERE
4. To avoid sticking, I advise you to use a special mat for fondant : To purchase online, see HERE
5. Using a printer, print a Unicorn Image (you may find online), cut it with scissors and lay on the rolled out gumpaste
6. Cut the unicorn shape, using a knife
7. Transferring onto a wood board will help to dry
8. Let dry a few hours
 Gum Paste
 Non-Stick Pastry Mat for Kneading Fondant
 Wilton Large Fondant Roller
Painting
9. Once it dried, you may paint the Gumpaste with Food Coloring. I used Purple and Pink for the unicorn
10. You may use either a paint brush (dedicated to pastry, edible food, of course), or using a Airbrush device. I used both techniques.
11. Several brands: 1- To purchase online, see HERE. 2- To purchase online, see HERE.
 IwataEclipse Airbrush Set
 Timbertech Airbrush Kit
 Pastry Brush
 Silicone Brush, Heat Resistant for Pastry and Barbecue
Hair
14. For the hair, I used Rolling Fondant, dyed with brown and pink colors. Simply use water to stick the fondant based hair
Flowers
15. Flowers can be made well ahead of time for convenience. I made them using several techniques
16. There are plenty of videos on youtube showing you how to make those flowers
The Horn
17. For the horn, I find that the best way is to use a silicon mold. Just pour Candy Melts, White Chocolate or tempered chocolate
18. Once the chocolate has set, unmold
19. In a small bowl, mix Gold Dust Powder and Vodka (or lemon juice if you don't want Alcohol)
20. Paint with a brush, then allow the paint to dry at room temperature
The Sponge Cake
21. Bake a Cake Sponge: The recipes are HERE
22. If you want to make a tall cake, you will need several diameter cakes to make the tiered cake !
23. I chose a Genoa Cake, recipe HERE. You may choose other sponge cakes, see , HERE
24. Slice the Cake Sponge, between 0.39" (or 25/64" or 1 cm) and 0.59" (or 19/32" or 1.5 cm) thick
25. To make the sponge cake moist, drip some Syrup (HERE)
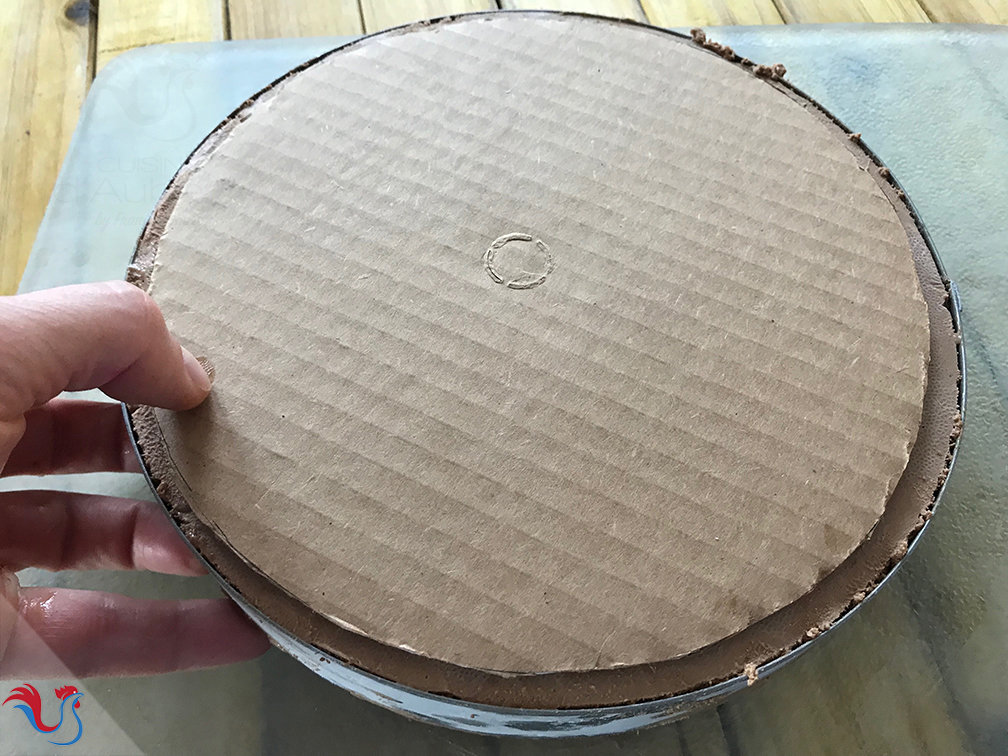
26. Each layer should rest on a Cardboard Cake Board
The buttercream
27. Prep the Butter Cream : The recipe is HERE
28. Prep the Mousse for Cakes : The recipe is HERE
29. Pipe the Butter Cream on the perimeter
30. This "ring" will make the cake more solid
31. Let cool down in the fridge and let it firm up
32. Spread the Mousse for Cakes in the center
33. Add another layer of Cake Sponge, soak with Syrup
34. Let cool down in the fridge for at least 20 minutes
35. I spread Butter Cream on the side with an offset Icing Spatula
The fondant
36. Roll out the Rolling Fondant with a rolling pin (special for fondant: To purchase online, see HERE)
37. Paint with edible color
41. Add the Cotton Candy
42. Cotton candy melts very fast at room temperature. Add it just before serving!
43. For the rainbow, I glued bamboo sticks (with caramel or isomalt), which makes it easy to lay vertically
That's it!
A great birthday always comes with a great Bday cake!


 French Version


