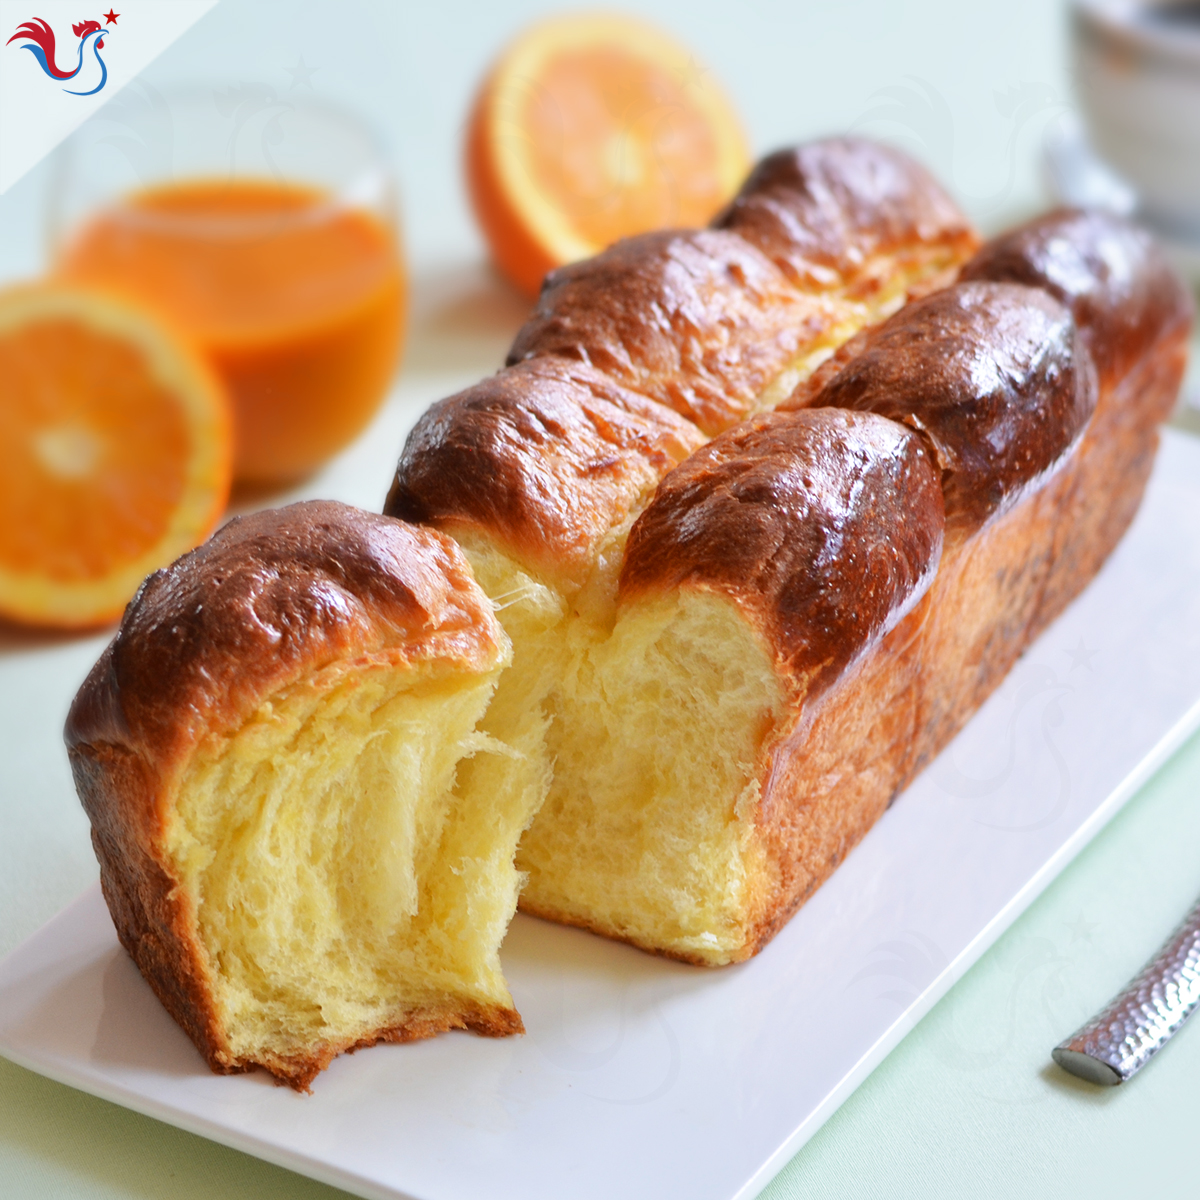
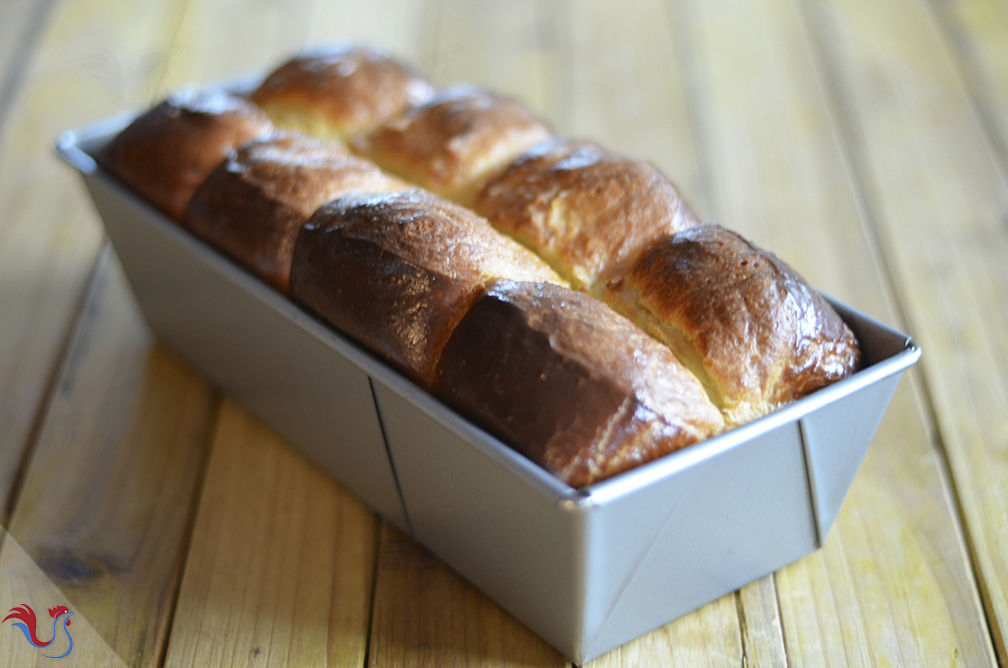
A delicious French Brioche recipe from the pastry master Philippe Urraca
About this recipe
Here's a recipe of delicious French brioche
A recipe by a top French Pastry chef, Urraca
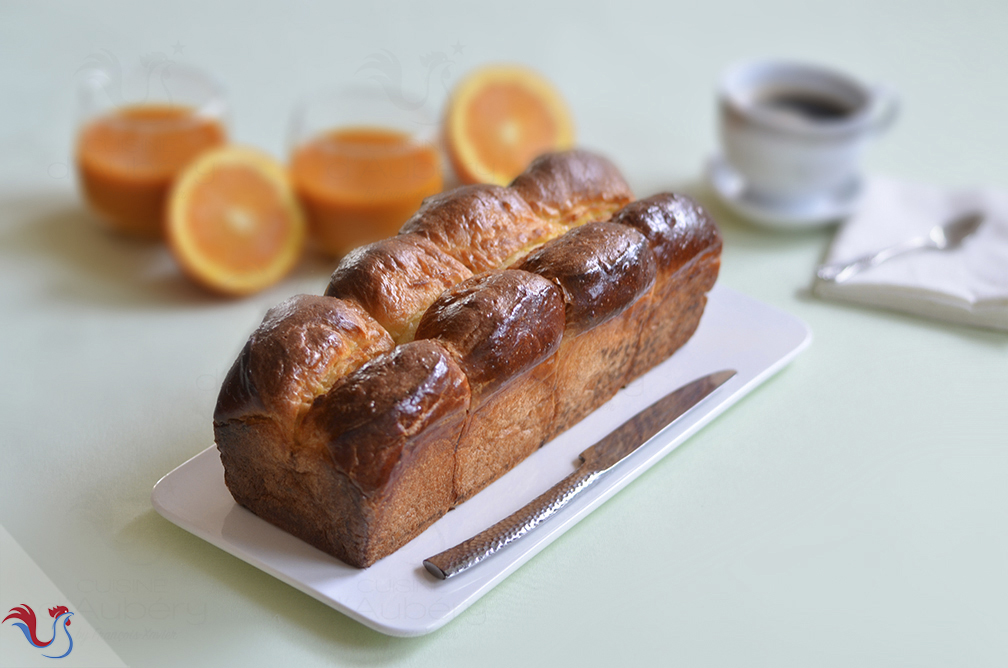
Making a brioche is more technical that it seems at first: A good brioche has a texture, a flavor that are unique
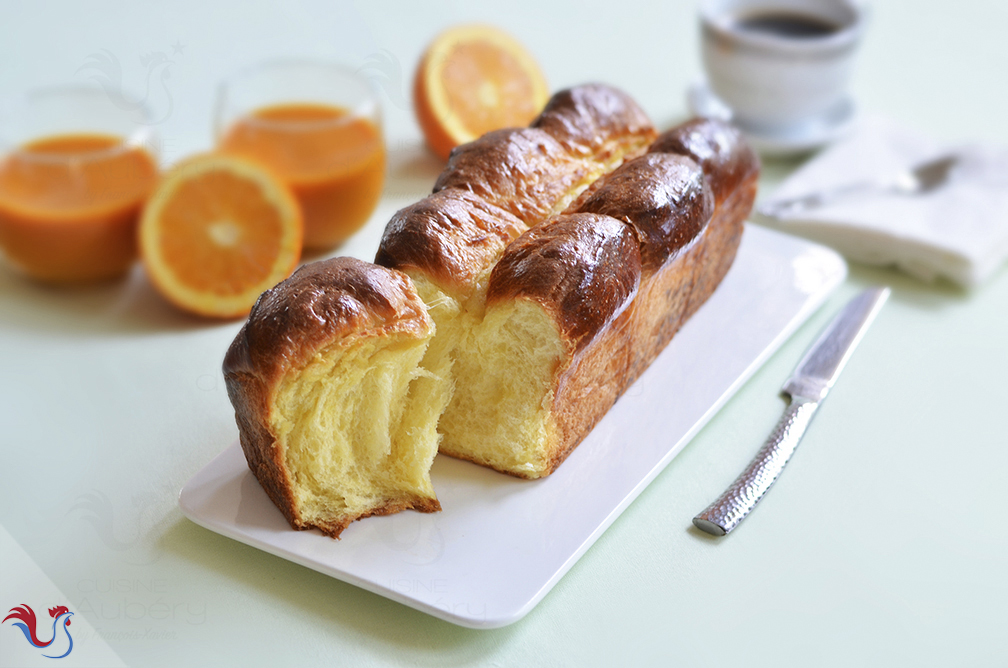
I am committed to describe all the steps with all the details that you need to bake a wonderful and tasty brioche
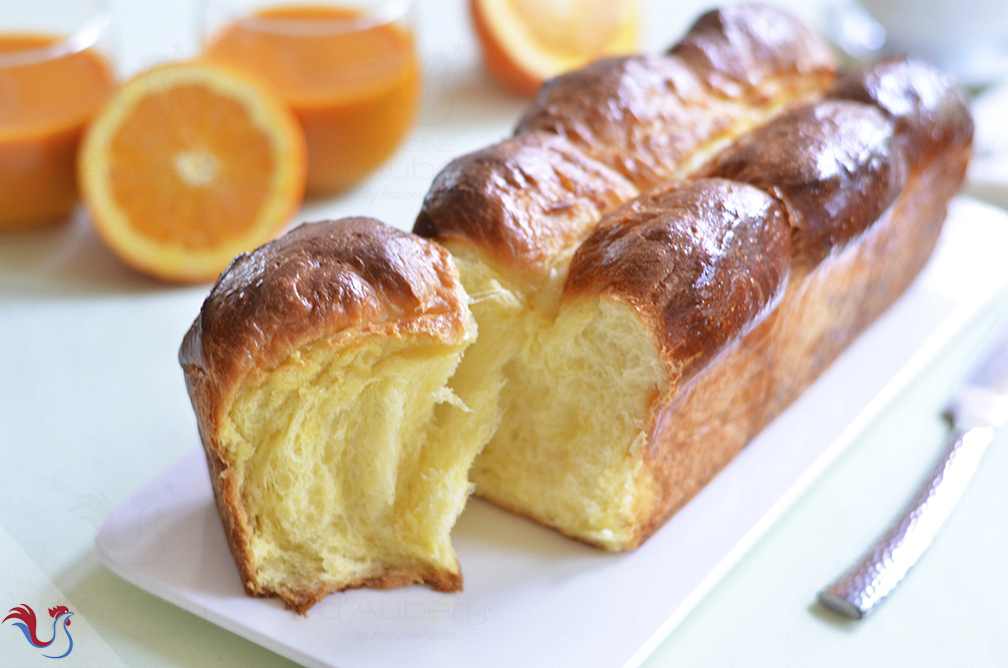
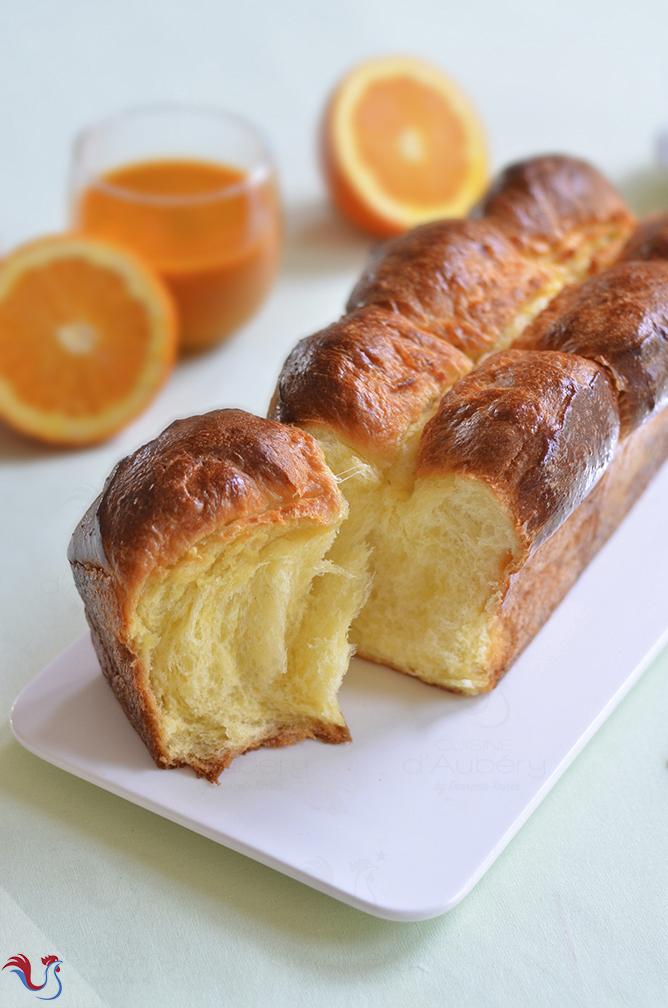
French king Louis the XV enjoyed brioche. Marie-Antoinette is also known for baking brioches in her private house 'petit trianon' in Versailles
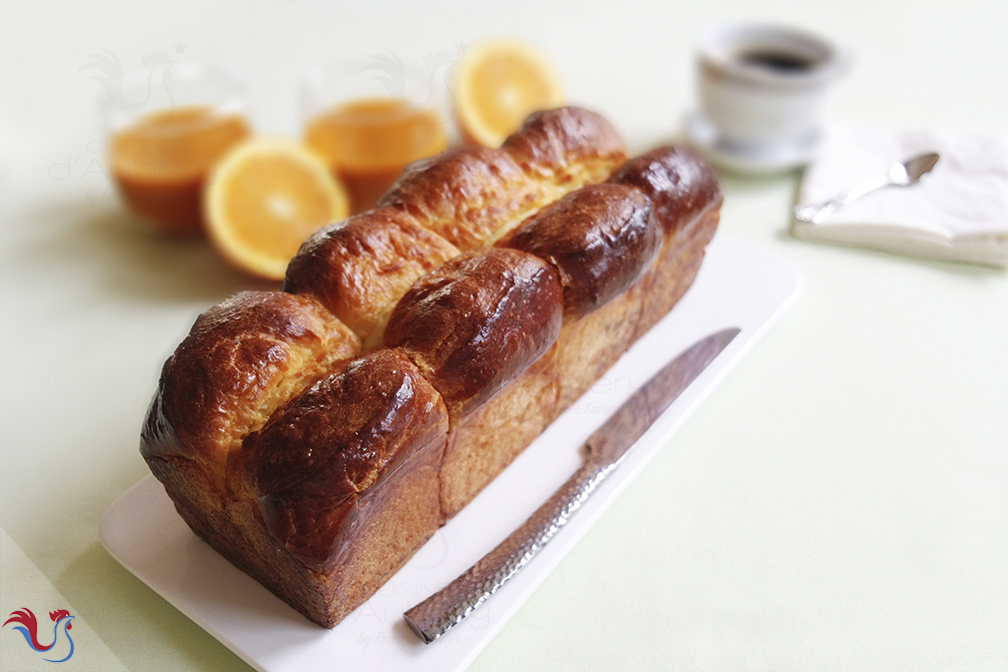
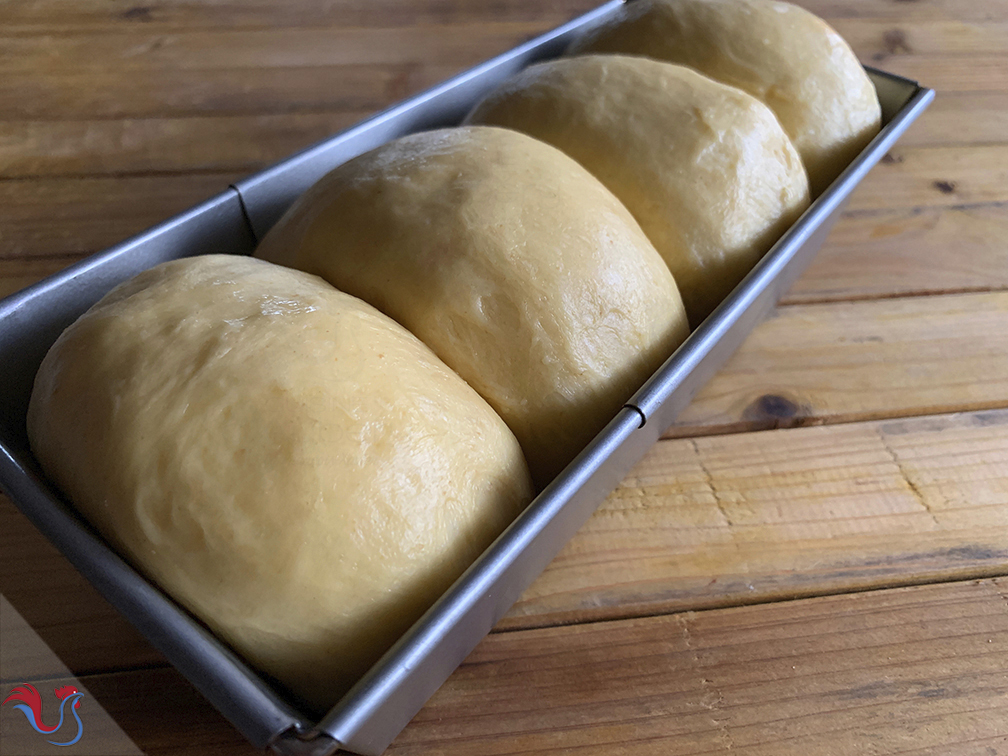
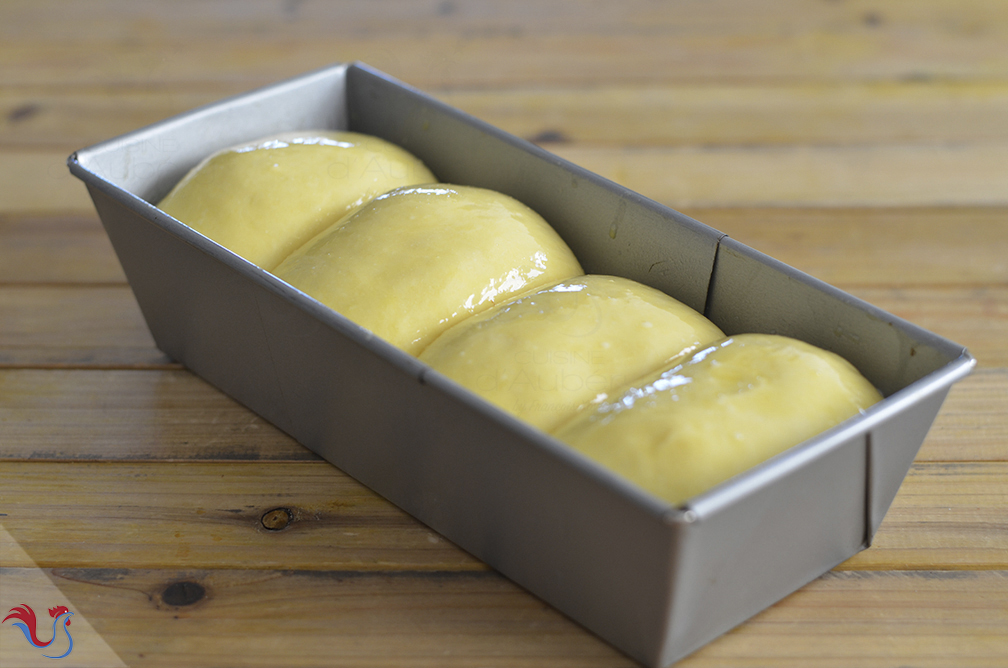
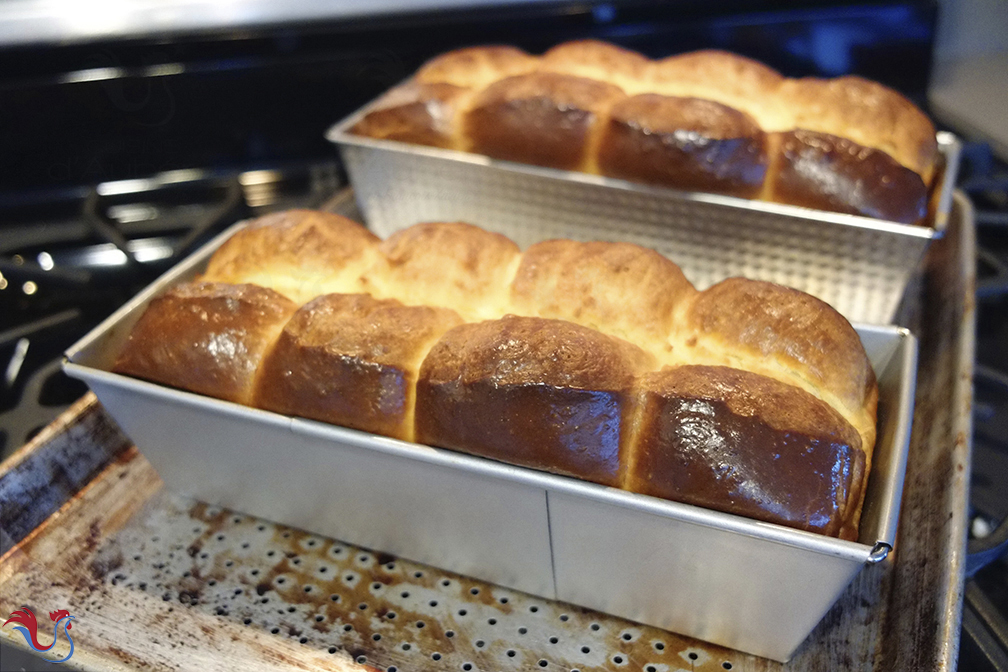
You will find several shapes for brioches, with different names. This one is called "Brioche de Nanterre", it is baked in a loaf pan, with round "balls" that make it easy to recognize

2 techniques
There are 2 techniques:
●
●
Source of the recipe
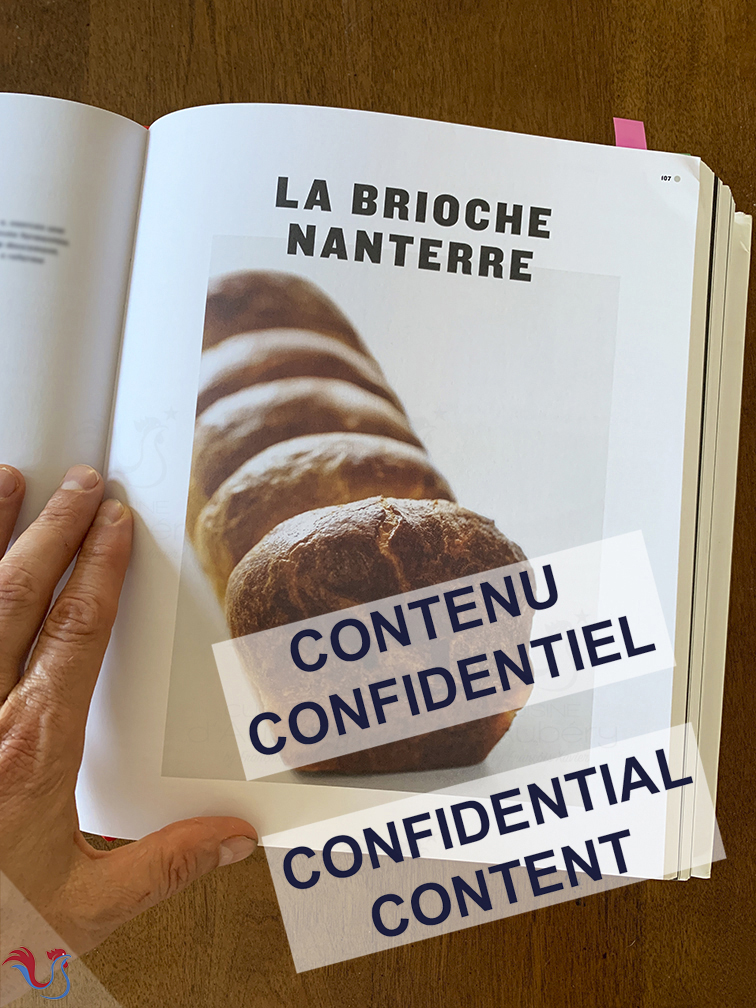
A recipe that I found in the book of French Chef Urraca, "Patisserie: French Pastry Master Class"

To purchase the book online:
 Patisserie: French Pastry Master Class
The recipe is on page 108
Modifications to the original recipe
I modified only a few things...
● I add more Flour
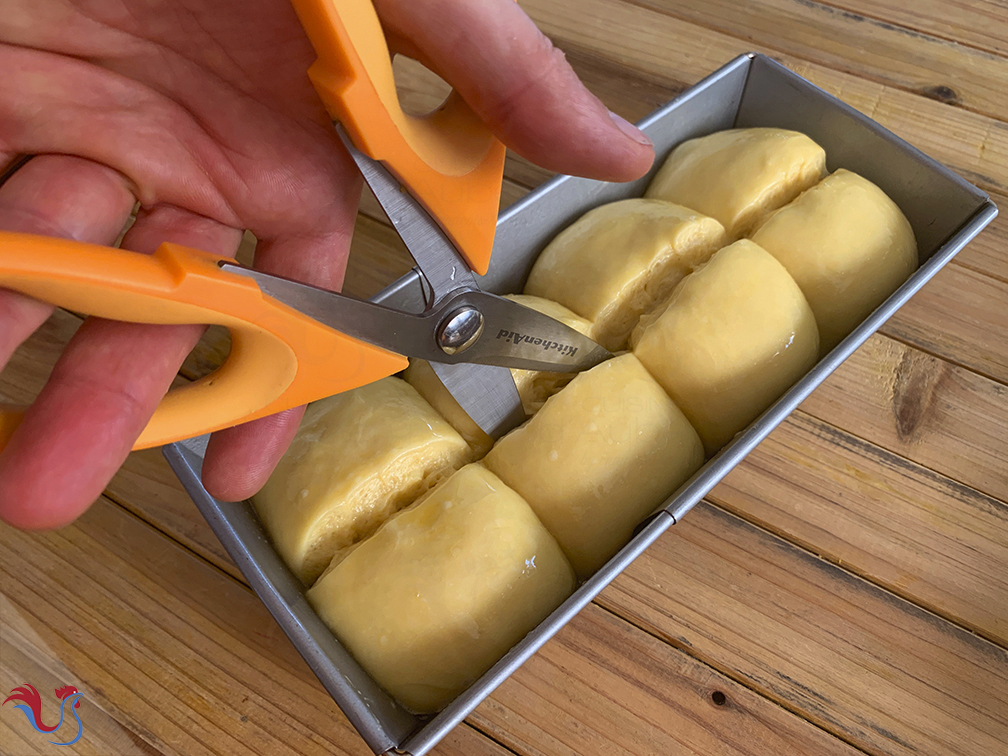
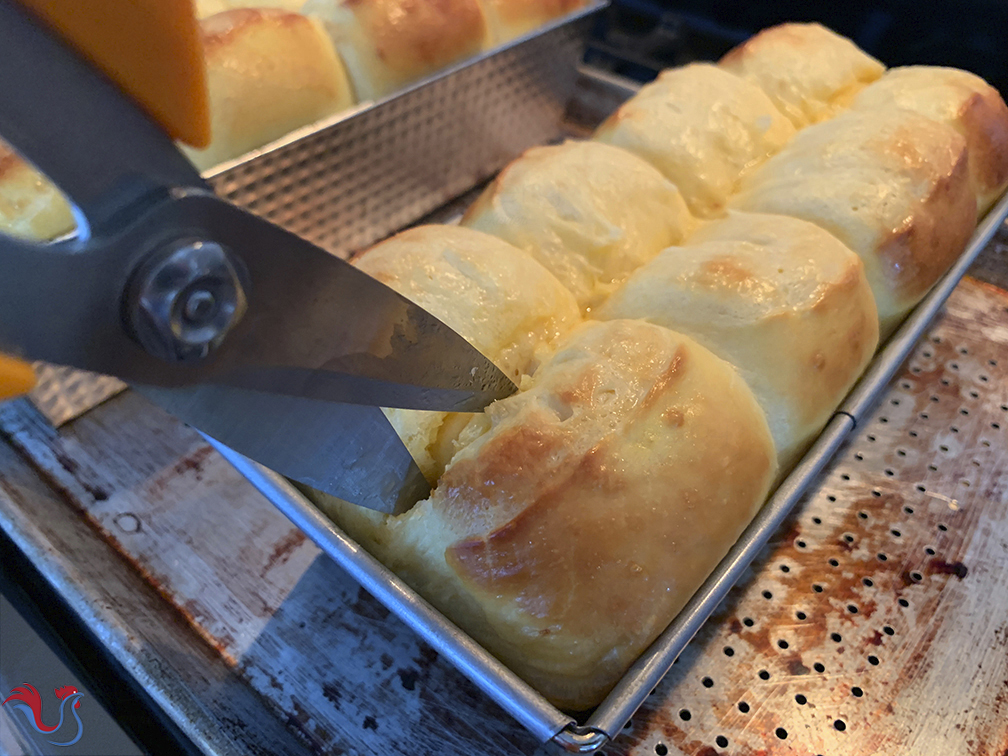
● Chef Urraca doesn't cut the top to create those "puffed balls", but I prefer to do it, as I find that it makes the brioche prettier

The Appliance
You have to decide which appliance you are going to use. Nowadays, professionals use a stand mixer (like a Kitchen Aid appliance) with its hook, something that I do but mainly during the warm seasons. Only problem is that the stand mixer kneads efficiently only when there is enough dough to knead, and so I double the quantities, to make one batch that yields 2 brioches.
However, in winter time, I use the bread machine : it warms slightly the kneading bowl and the brioche will proof better. Using the bread machine, you can knead only one brioche and don't need to double the quantities
In short:
In winter
● I use a bread machine, and knead one brioche
In summer
● I use a stand mixer (like a Kitchen Aid appliance), and make 2 brioches so that the stand mixer can knead more easily
 Compact Bread Maker Cuisinart
 Breville Loaf Bread Maker
 KitchenAid 7-Quart Stand Mixer
 Hamilton Beach Stand Mixer
The flour
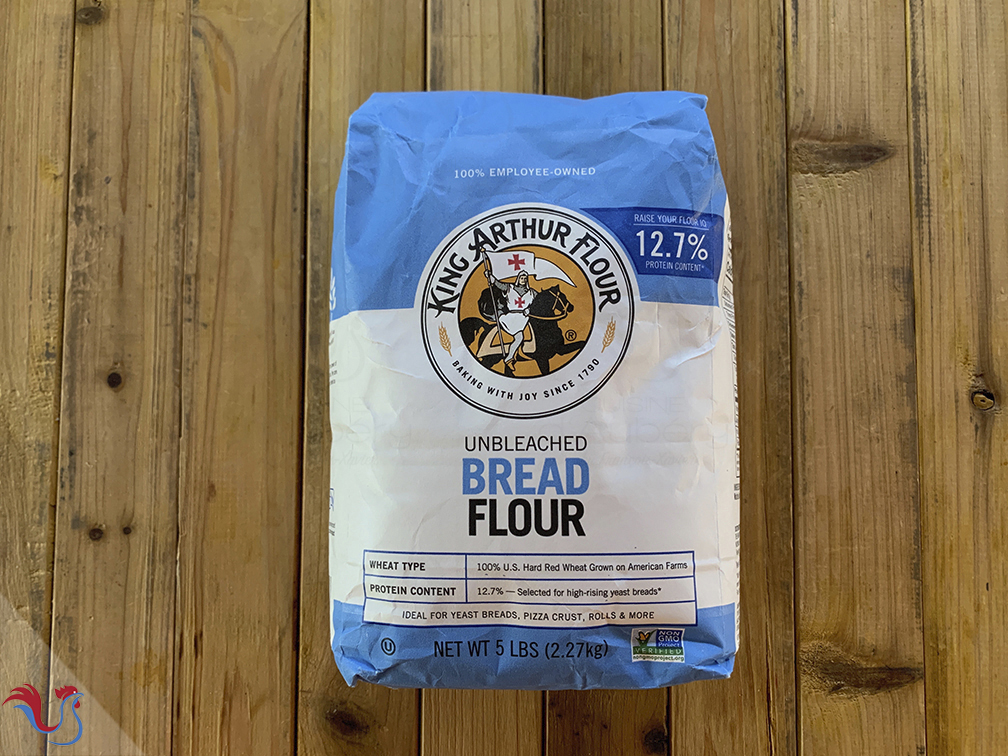
For this recipe, you may want to take a quality Bread Flour. If you live in the States, a good flour that I recommend (and easy to find) is the King Arthur Bread Flour
Let's get started!
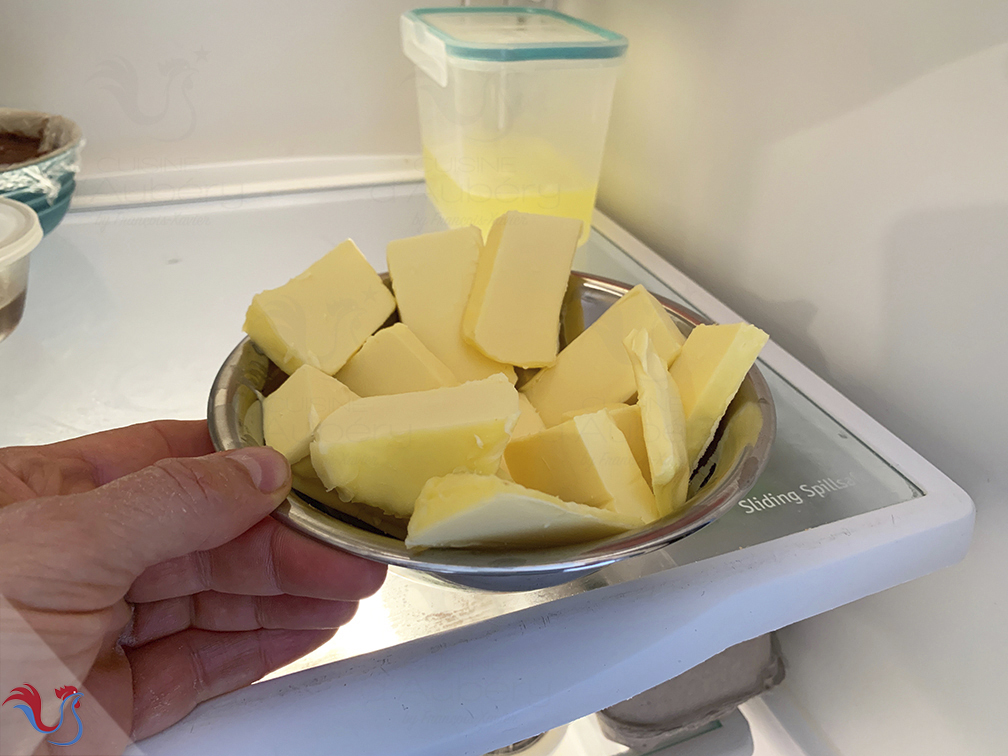
1. Start by placing the Butter (¾ Cup or 175 g) in the refrigerator (as we don't want it to soft)
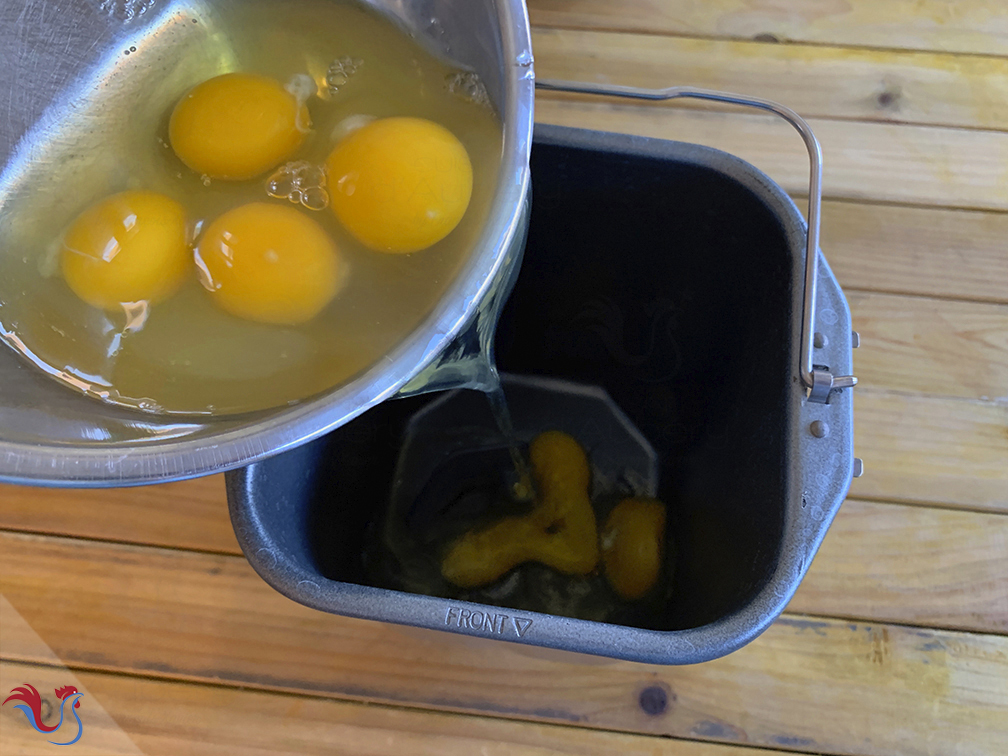
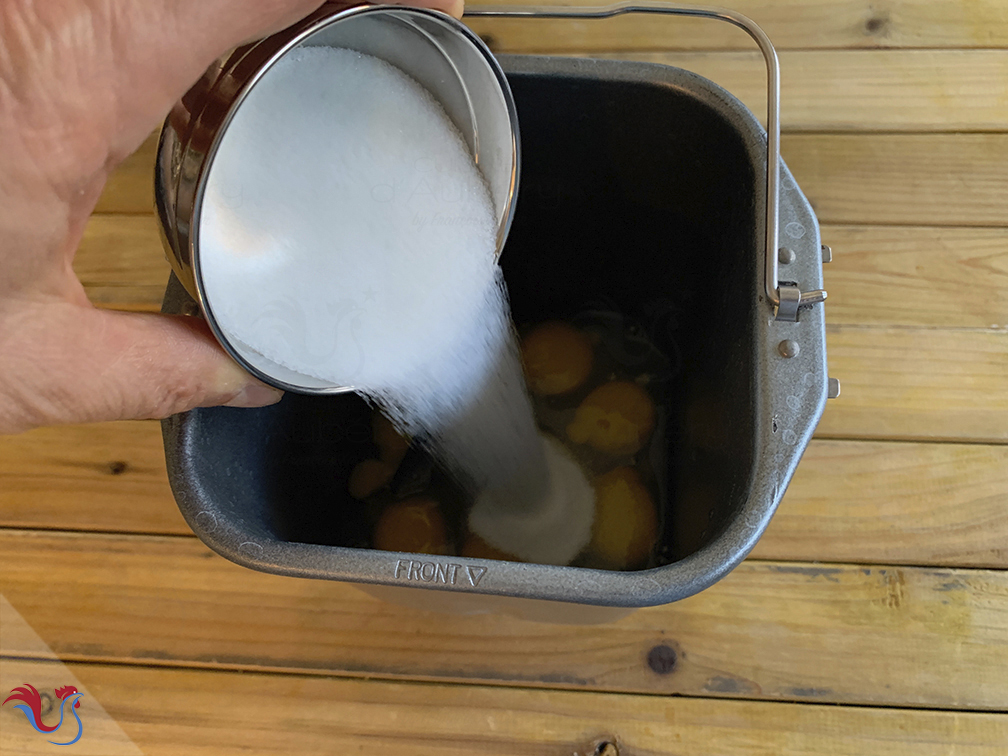
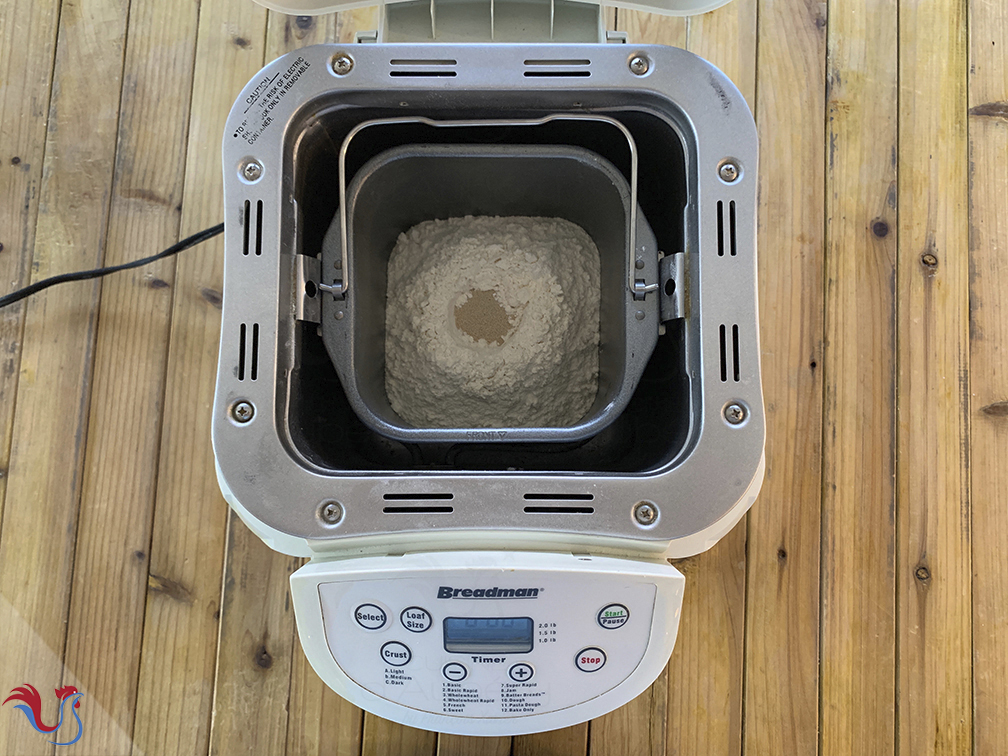
2. In a bread machine or in a stand mixer (like a Kitchen Aid appliance), pour in the Eggs (½ Cup or 162 g), the Sugar (3 Tablespoons or 37 g), the Salt (1 teaspoon or 5 g)
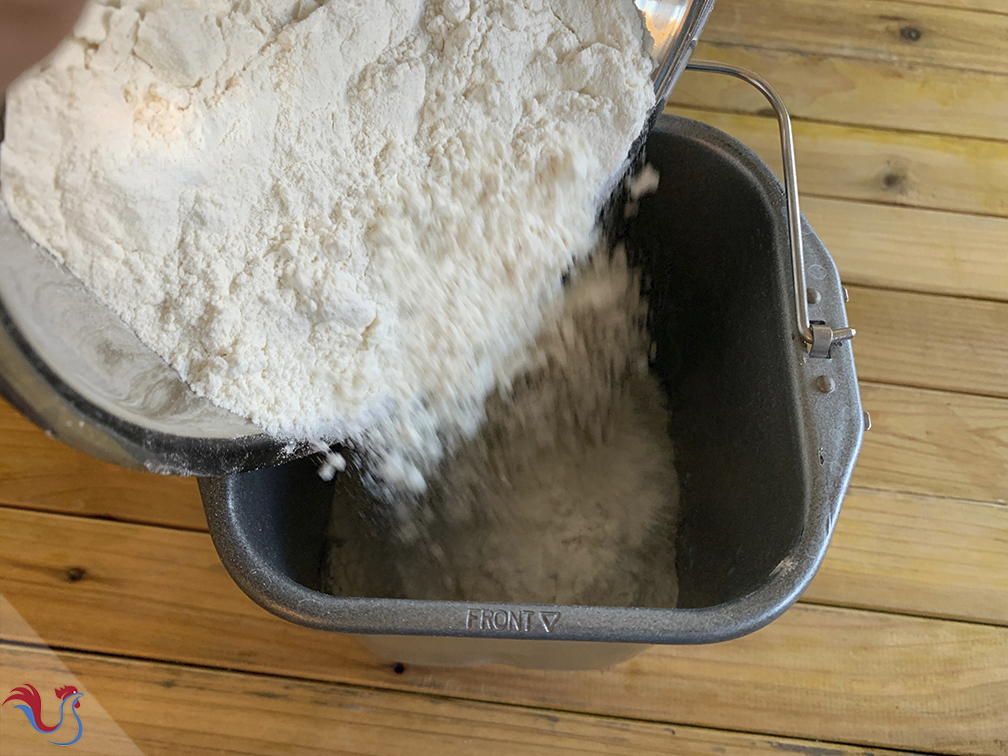
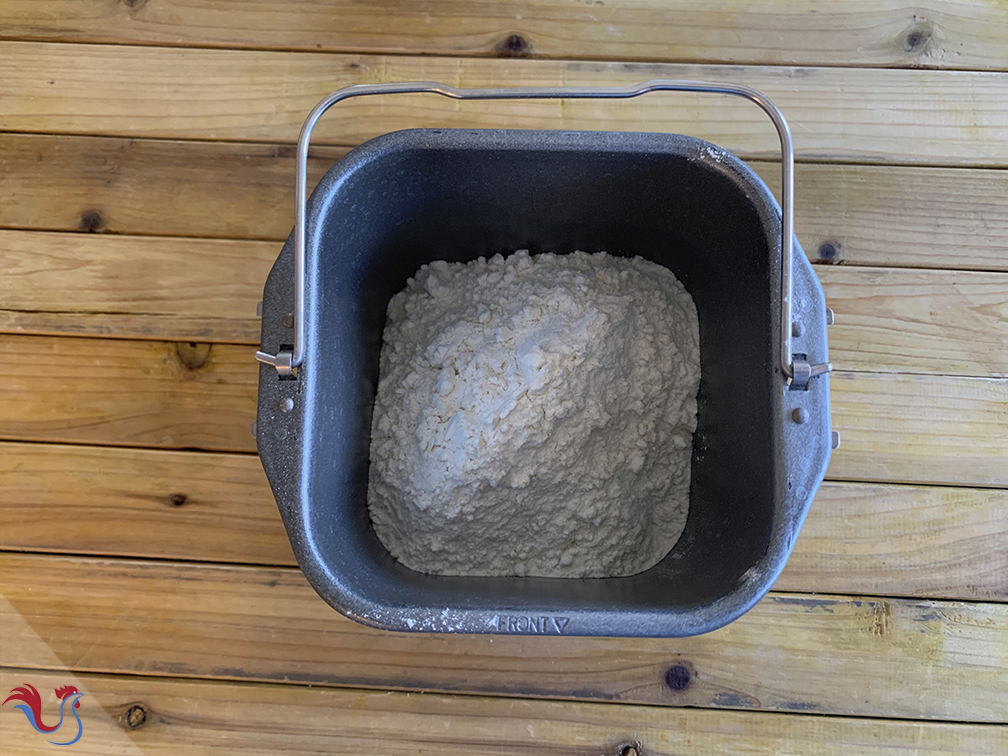
3. Pour in the Flour (1 ¾ Cup or 270 g) and make sure it covers the other ingredients
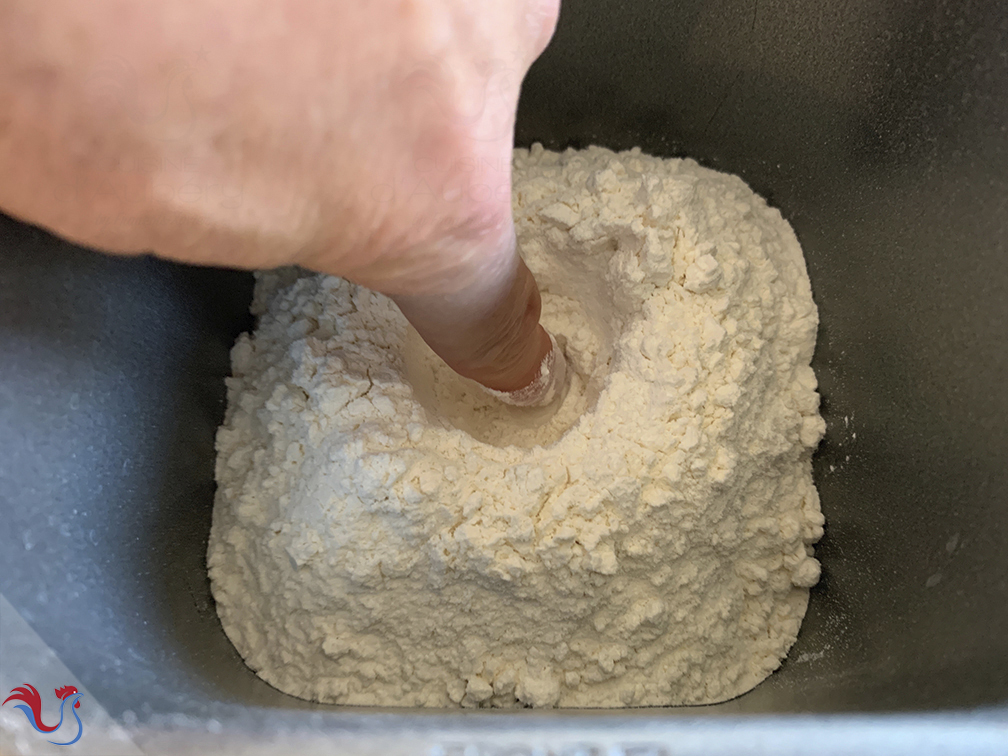
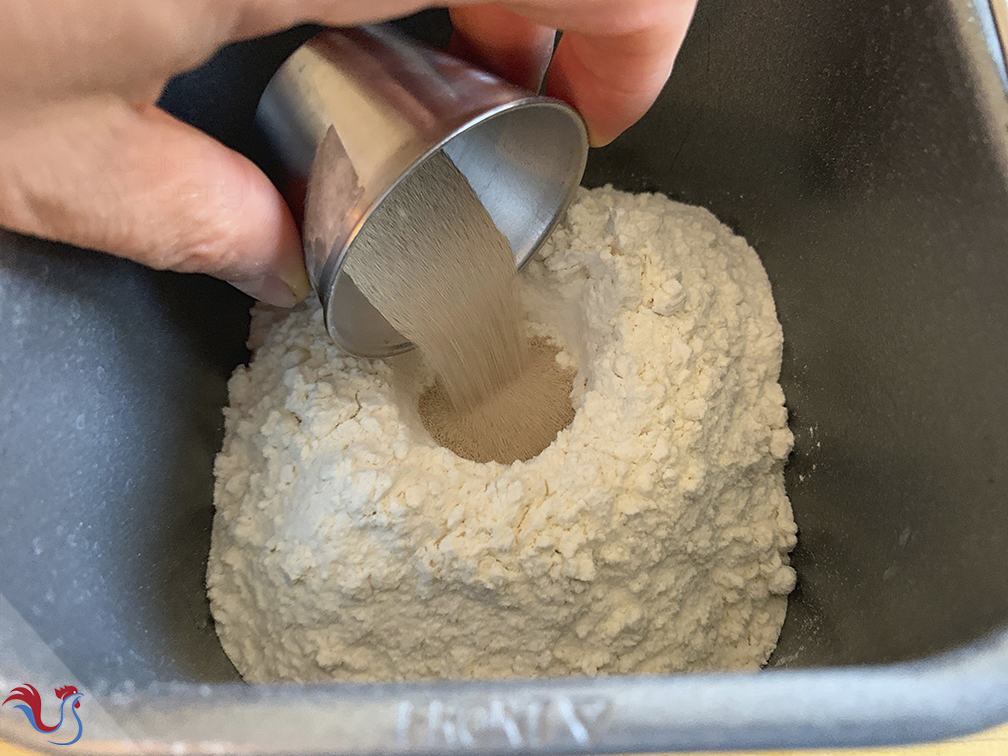
4. In the Flour (1 ¾ Cup or 270 g), make a little hole, and place into it the Dry Yeast (1 teaspoon or 5 g)
5. That way, the yeast doesn't touch the salt ( they don't like each other... )
6. Knead at medium speed (with the dough hook attachment if you are using a stand mixer).
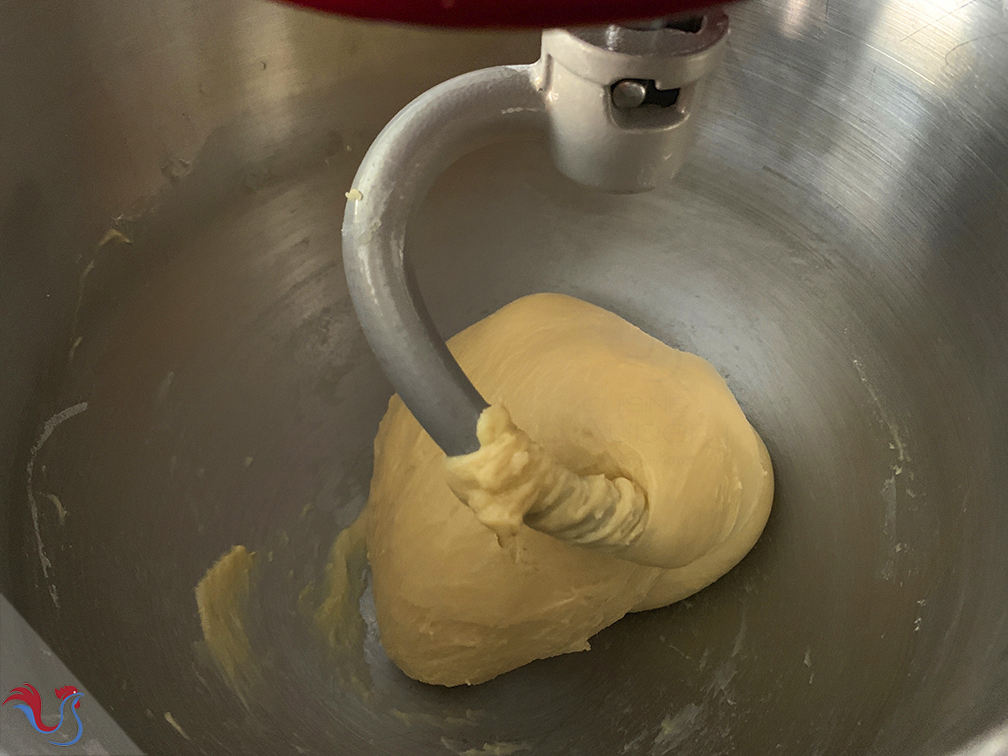
7. Knead the dough until it holds into a mass on the hook
8. For this to happen, I need to knead for 30 minutes
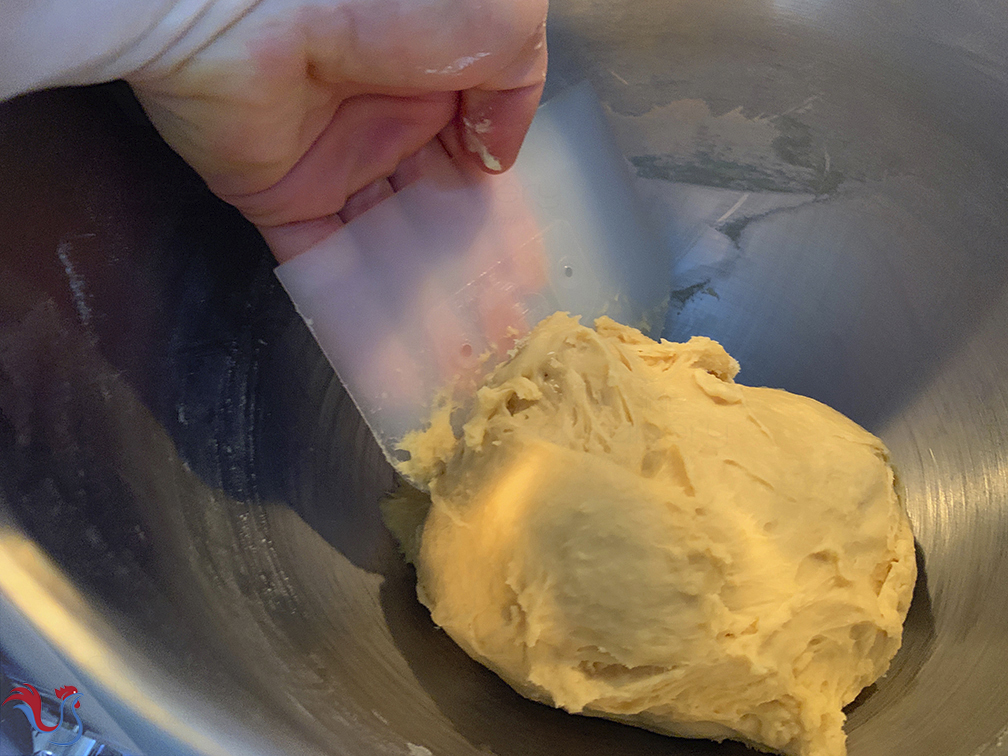
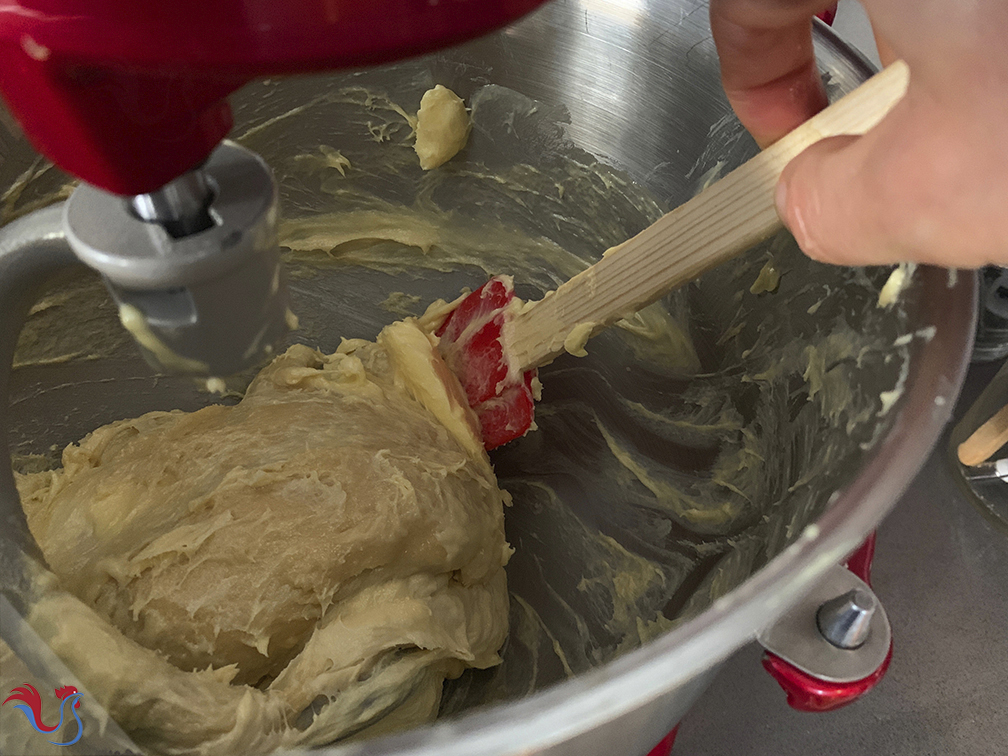
9. You will need to help the device (especially the stand mixer) by stopping the device, and scrape up any sticky dough residue sticking to the bottom of the bowl , then resume the kneading. You will need to do this several times during the 30 minutes
10. With the stand mixer, I use the Speed #3 (1-10), for about 30 minutes
11. The dough you must get is soft but firm !
Ajout du beurre
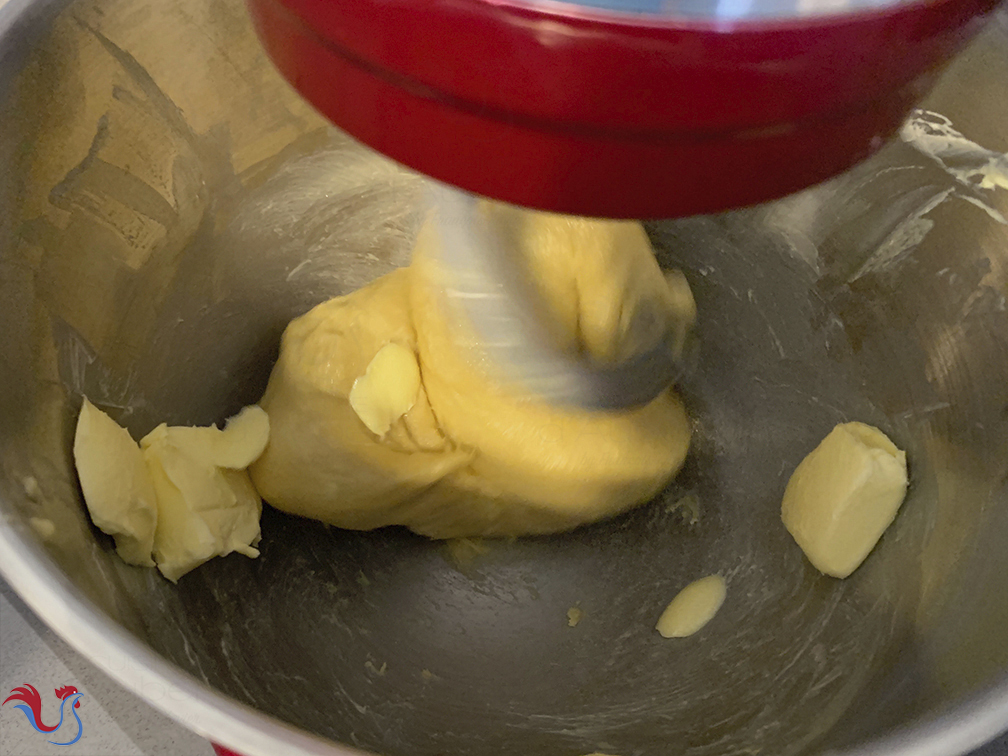
12. You are then ready to add in the Butter (¾ Cup or 175 g), that you need to cut in big chunks
13. With the stand mixer, I use the Speed #3 (1-10)
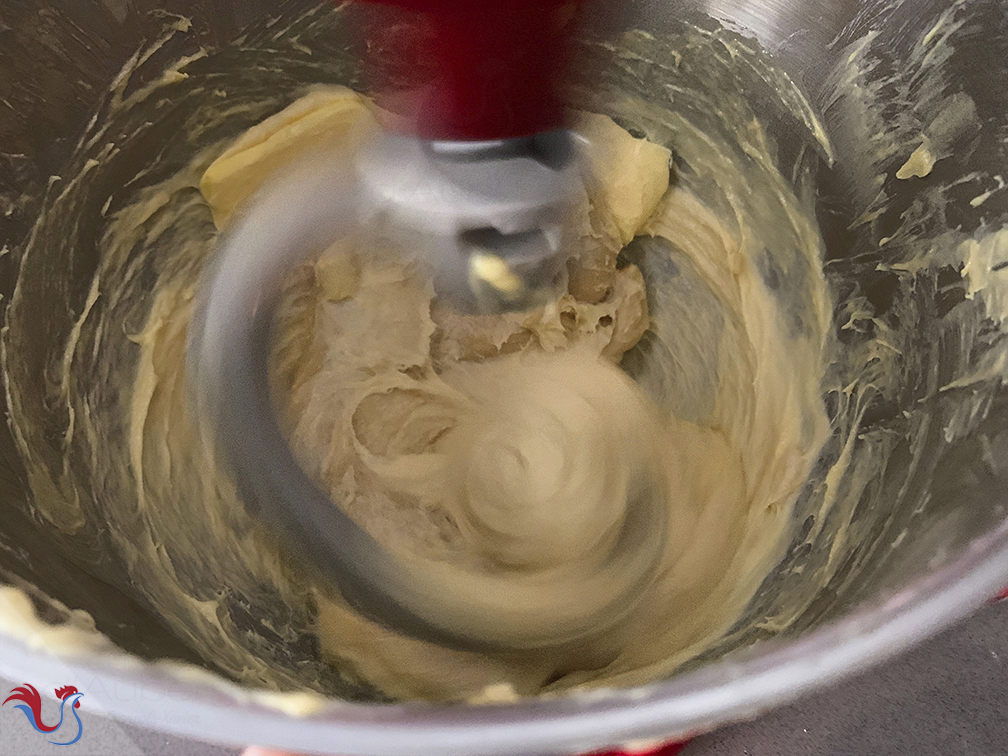
14. Add in Butter, one 1/4 at the time: Add in 1/4 of the butter, wait until it is well absorbed, and then add another 1/4
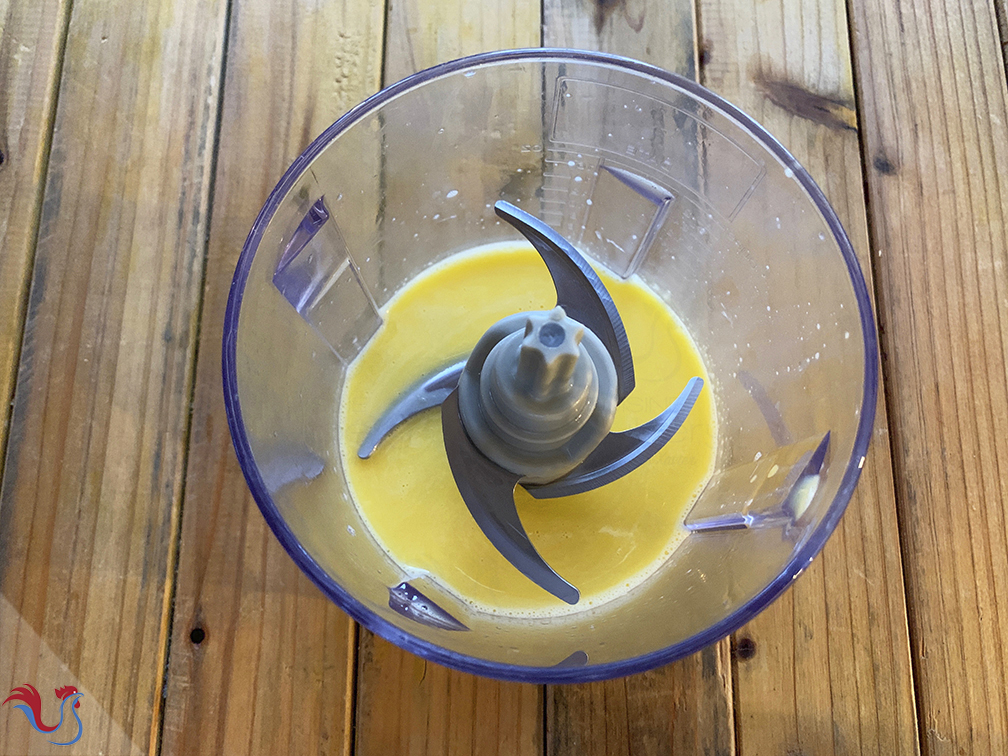
15. You will notice that you need time before the Butter is fully absorbed into the dough
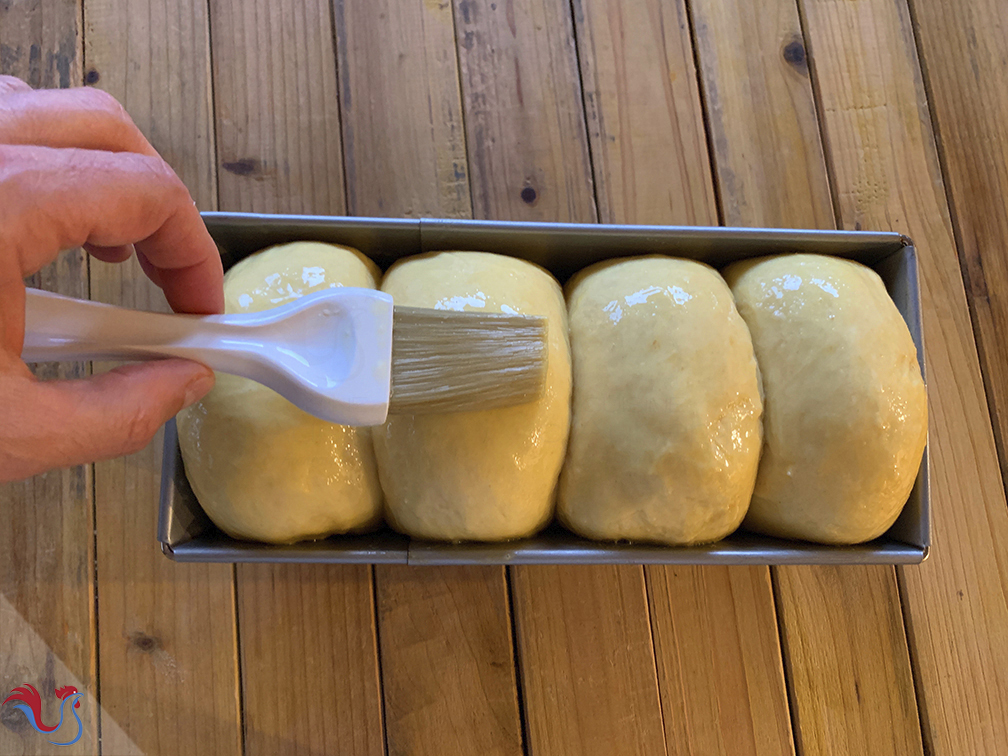
16. This is actually a good sign : it simply means that the gluten fabric is well done, which will give the fluffy and airy texture to the baked brioche
17. From time to time during the kneading process, stop the machine and scrape up the bowl : this helps the hook
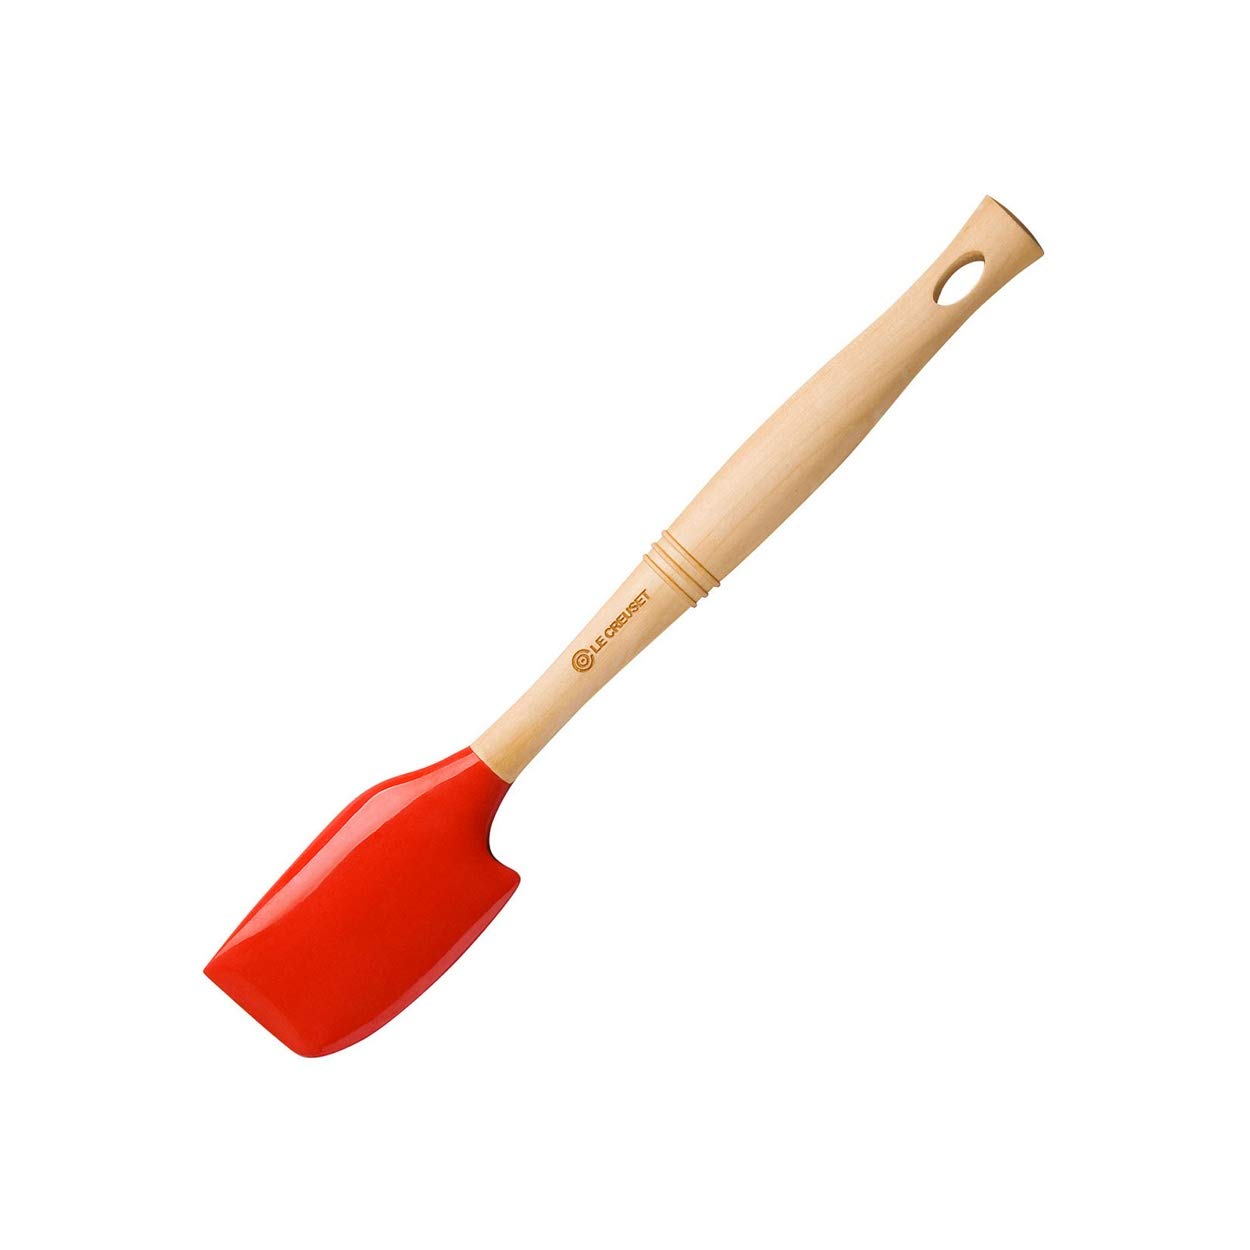
 KitchenAid Silicone Spatula Set
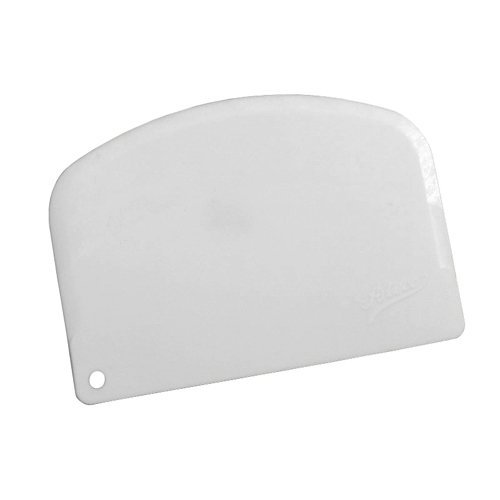 dough scraper
18. After some time (30 minutes or more), you will not see any chunks of butter, it is fully absorbed
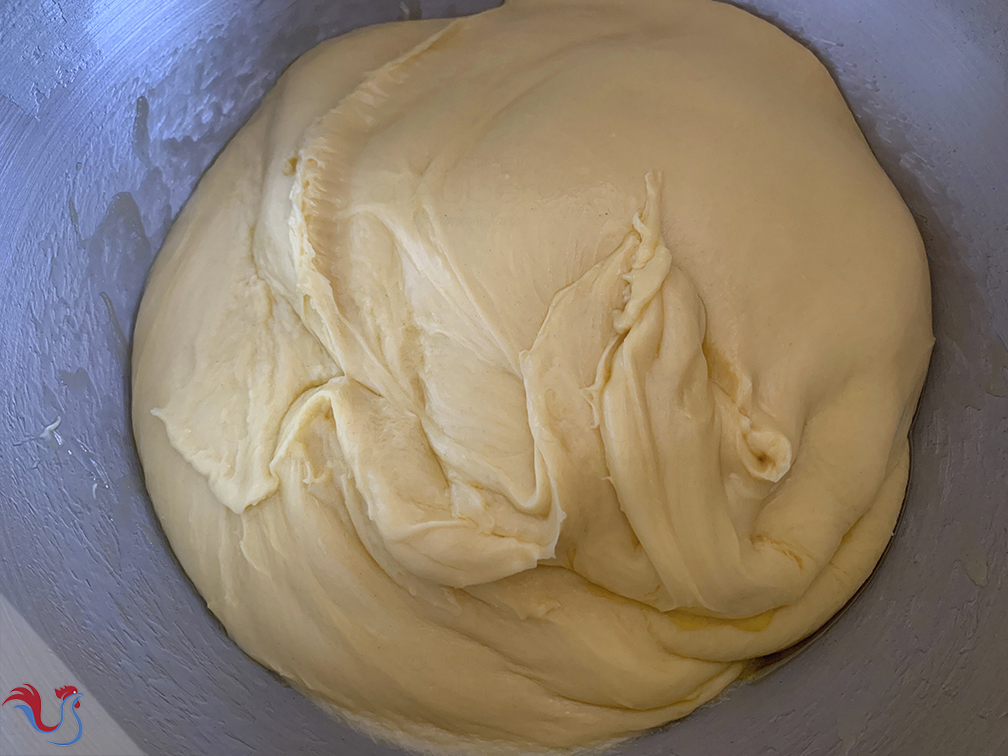
19. The dough is still sticky and holds to the sides of the bowl
Finishing the kneading
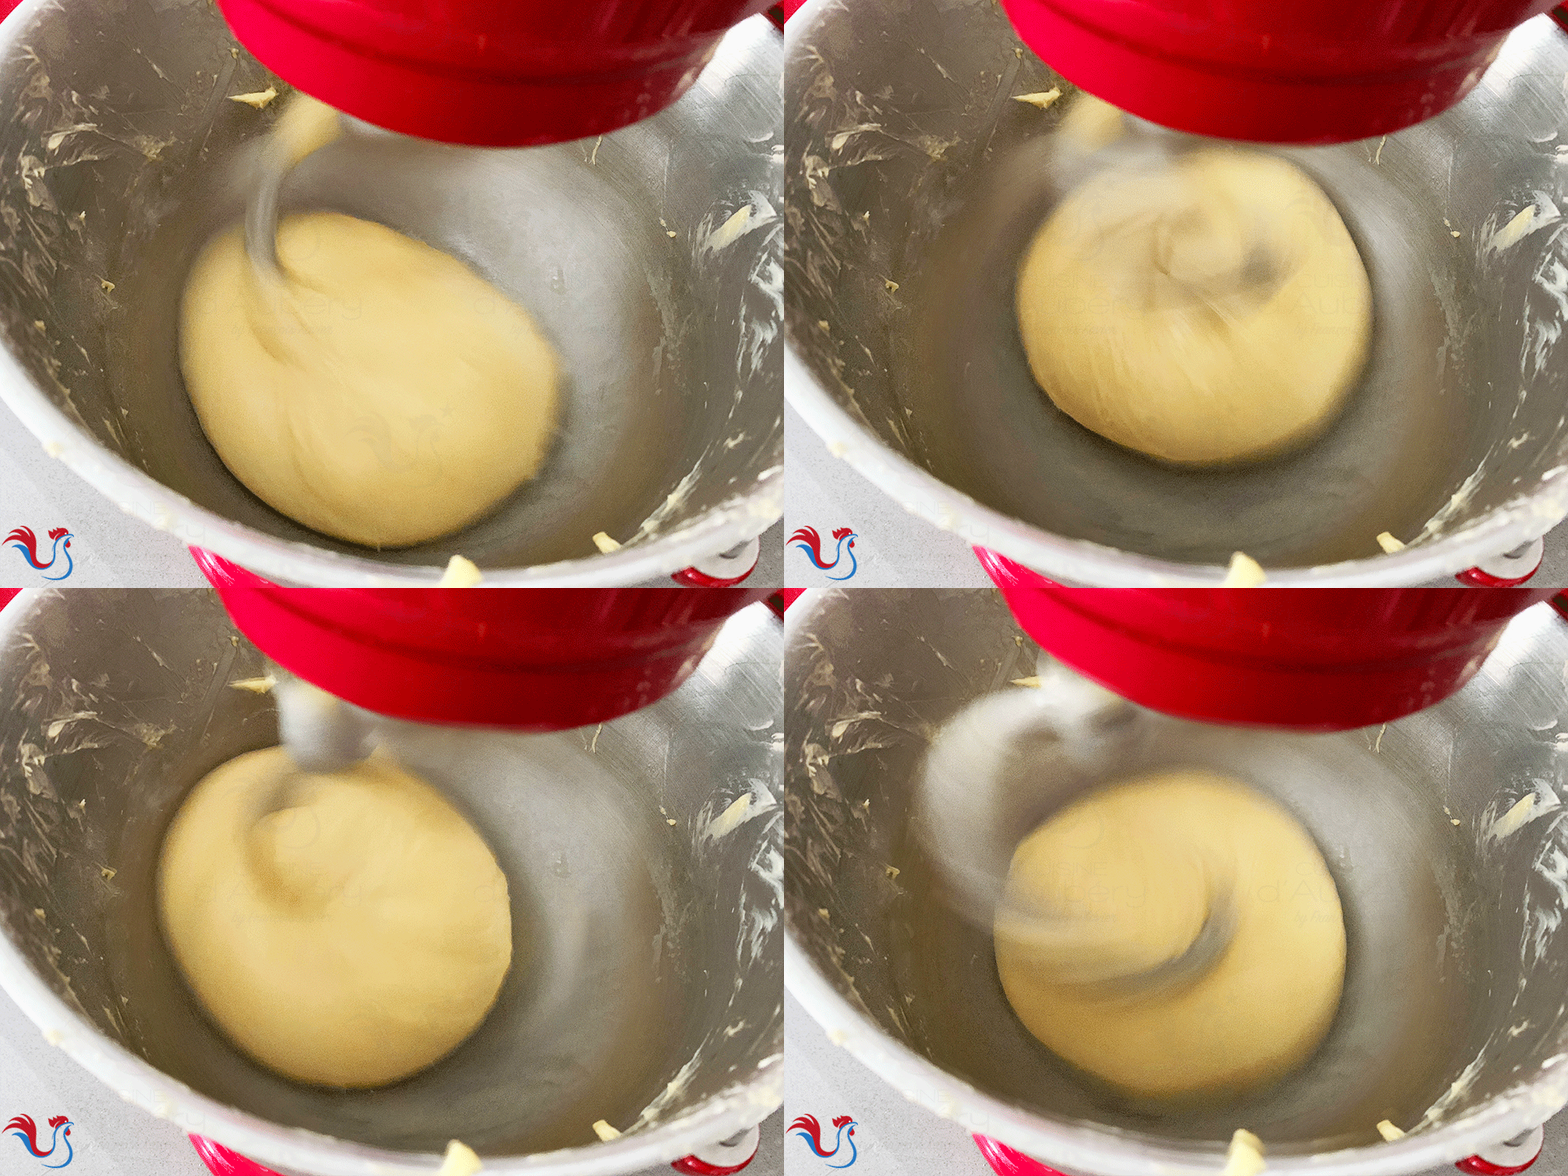
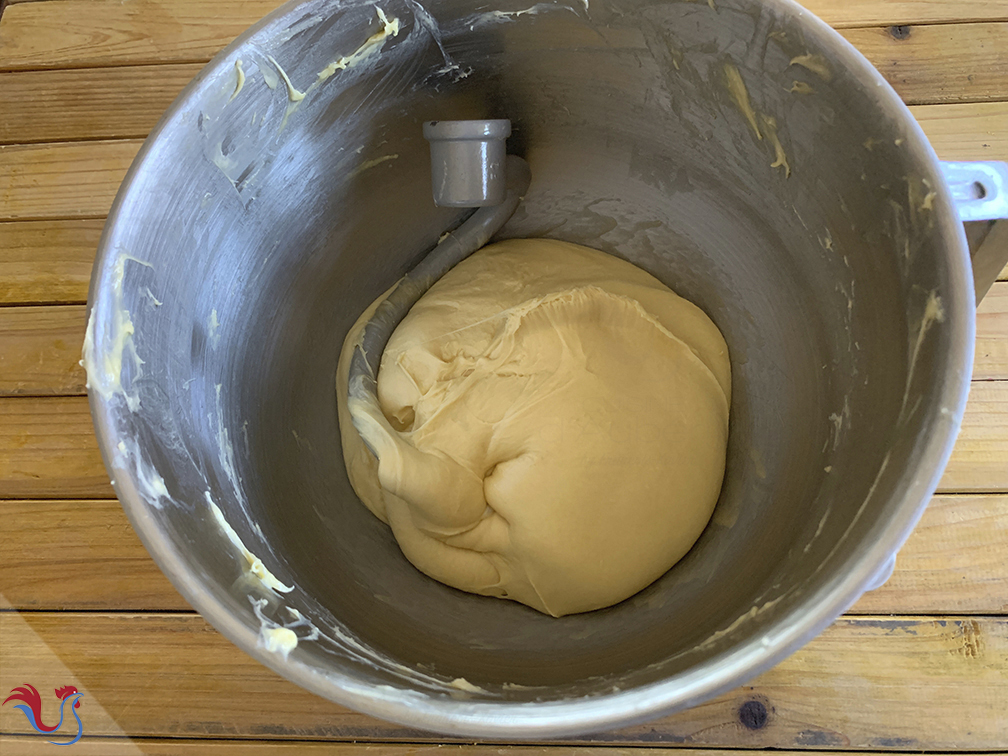
20. Last kneading step: Continue kneading, and the dough will not stick anymore. It will form into a mass around the hook
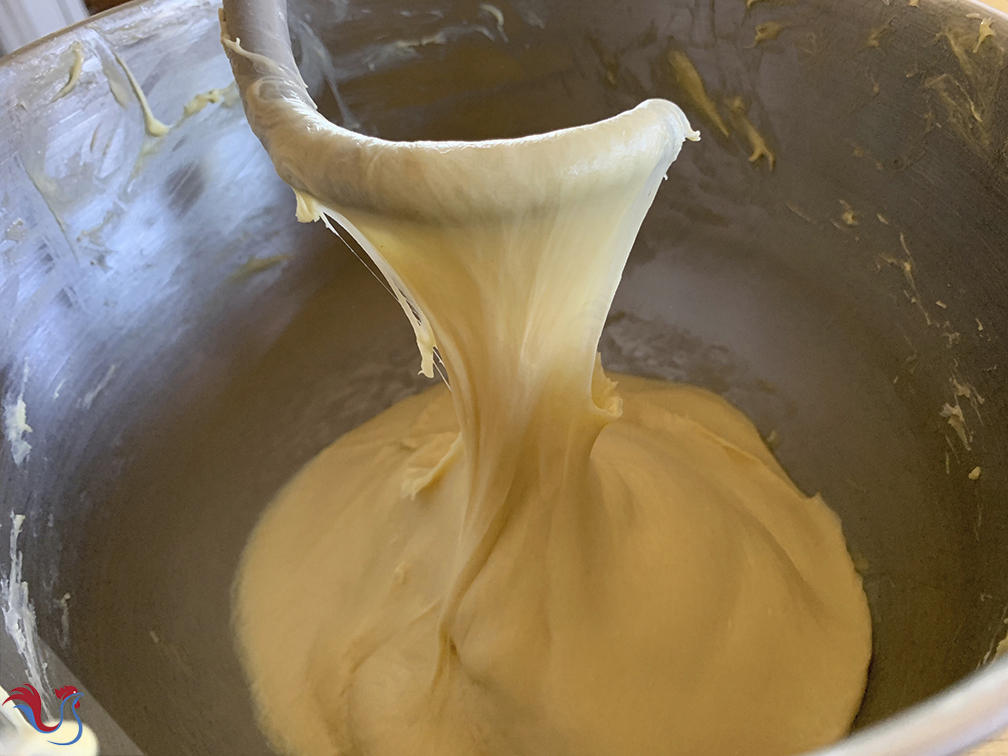
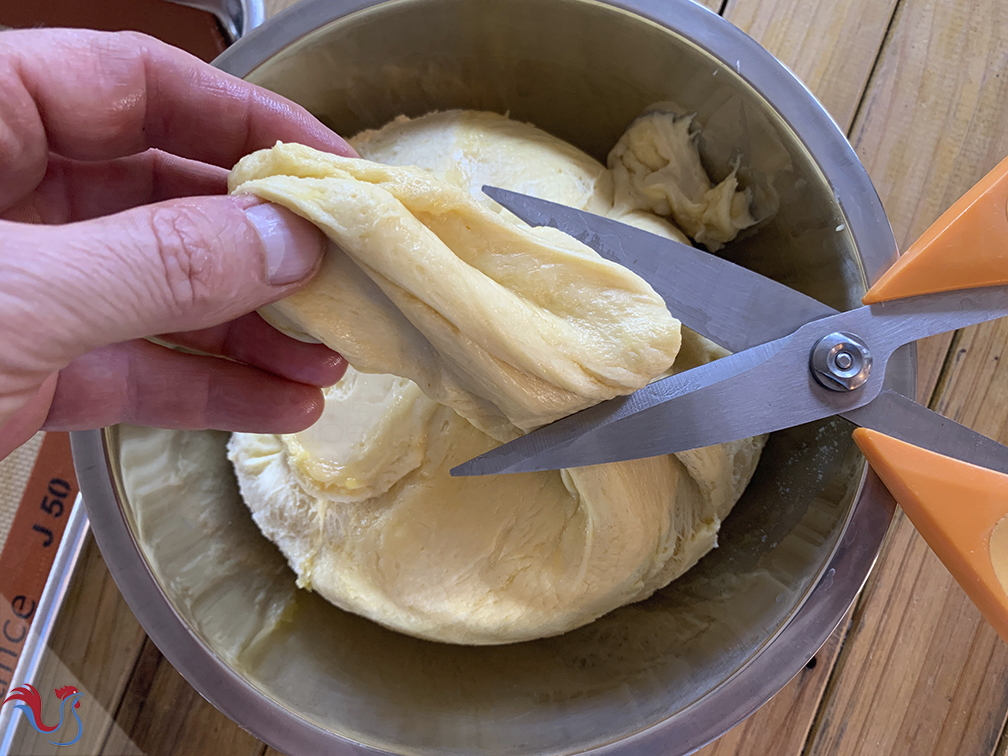
23. Test the dough : By pulling the dough, you will notice that the dough is very elastic. Despite the high quantity of butter, the strands of gluten are there, and this is the guarantee of a great texture
Proofing
24. We are now going to "activate" the yeast, by letting the dough proof
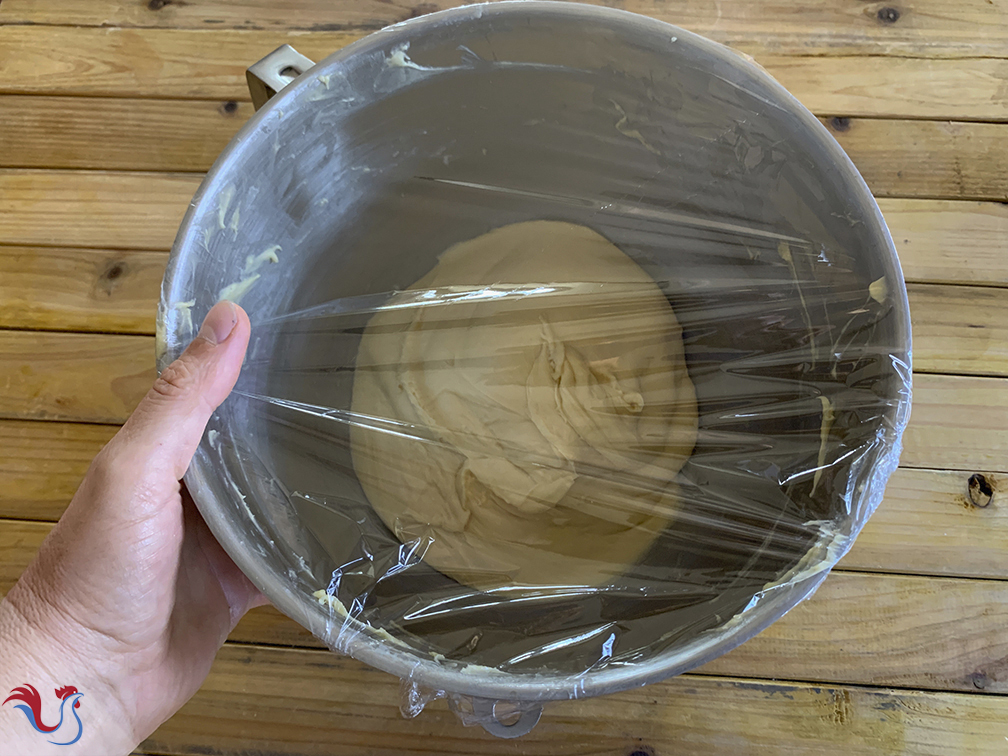
25. Cover the bowl (not the dough) with a plastic wrap (to avoid drying, but letting the dough get enough air which is needed for proofing)
26. Let the dough proof for 1 hour at room temperature
27. Then, remove the plastic wrap, and press it against the dough (to avoid drying in the fridge)
Cooling down
28. Place the bowl in the refrigerator to allow for slow fermentation for at least 4 hours
29. Remove the bowl from the refrigerator after 4 hours
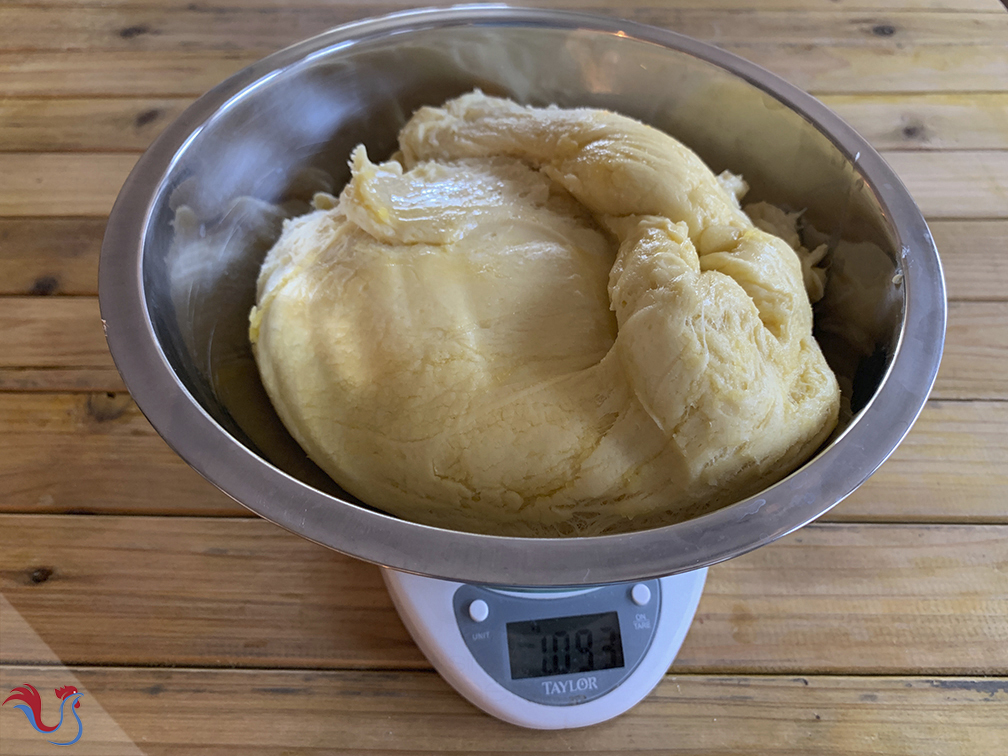
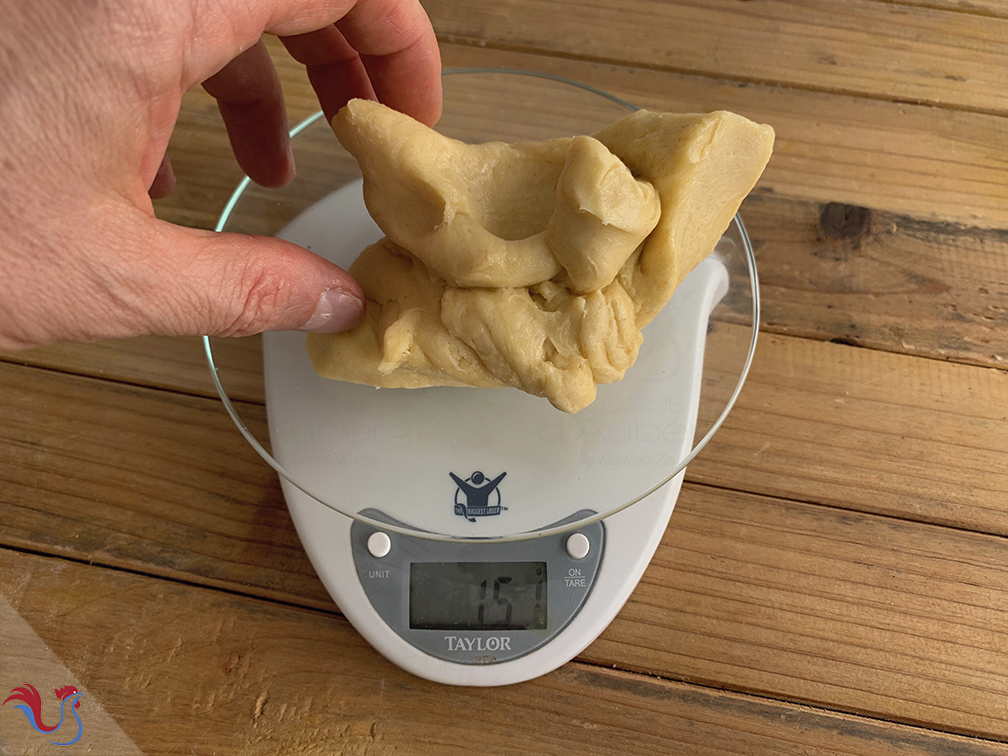
30. Divide the dough in 4 pieces for one brioche. You want to use a scale
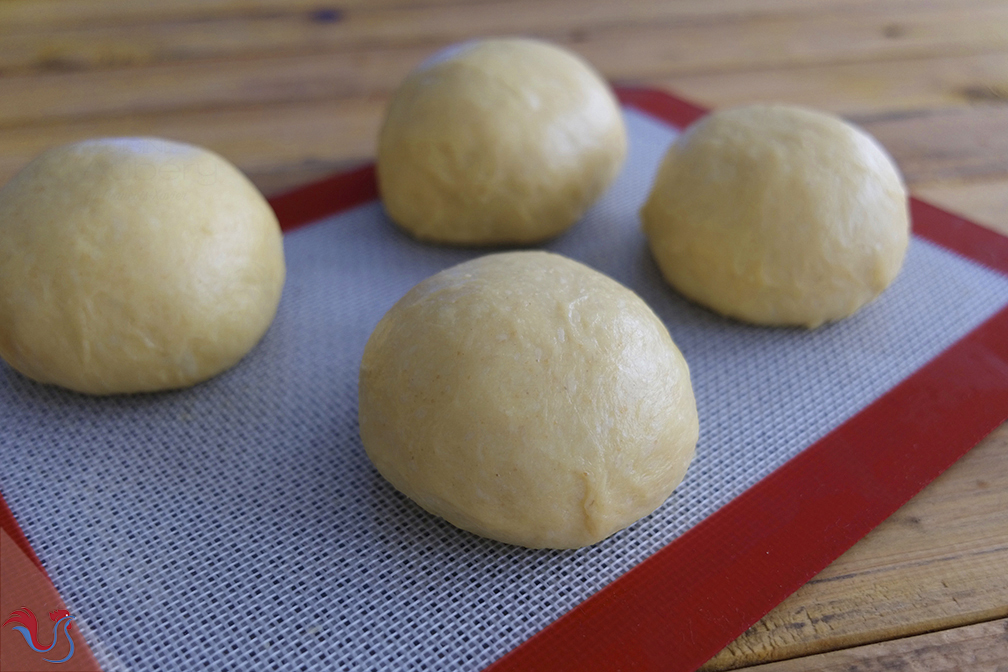
31. You may divide in 4. My dough was weighing 664 g (1 lbs 7 oz ). For a 11.81" (or 11 13/16" or 30 cm) x 4.33" (or 4 21/64" or 11 cm) pan for instance, I divide in 4 balls, each weighing 166 g ( 6 oz )
32. Here's one trick that you may want to follow (or not!). The balls that are on the side of the pan tend to grow bigger. To compensate this, we form balls of different weigh and size. Those on the side should be smaller (as they proof and then bake, they will all look the same size at the end)
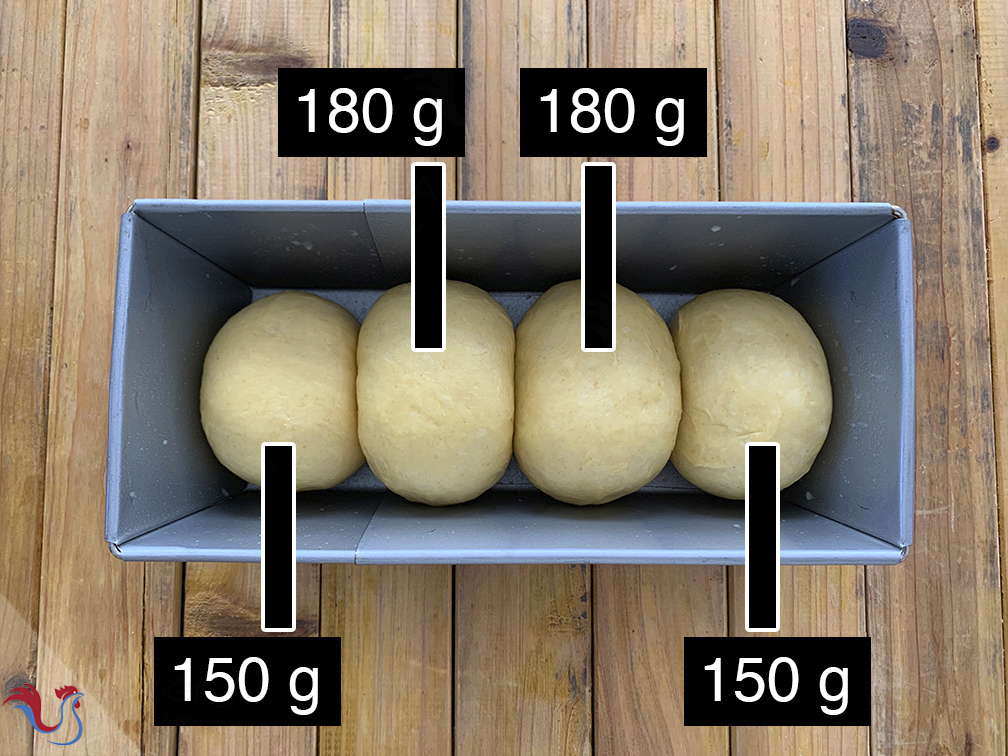
33. For my pan (11.81" (or 11 13/16" or 30 cm) x 4.33" (or 4 21/64" or 11 cm)), I have a dough weighing 664 g (1 lbs 7 oz ). If I want 4 balls of same size, I cut 4 balls weighing each 166 g ( 6 oz ). However, if you follow my trick, you want to form 2 balls of 150 g ( 5 oz ) and 2 balls of 180 g ( 6 oz )
The balls
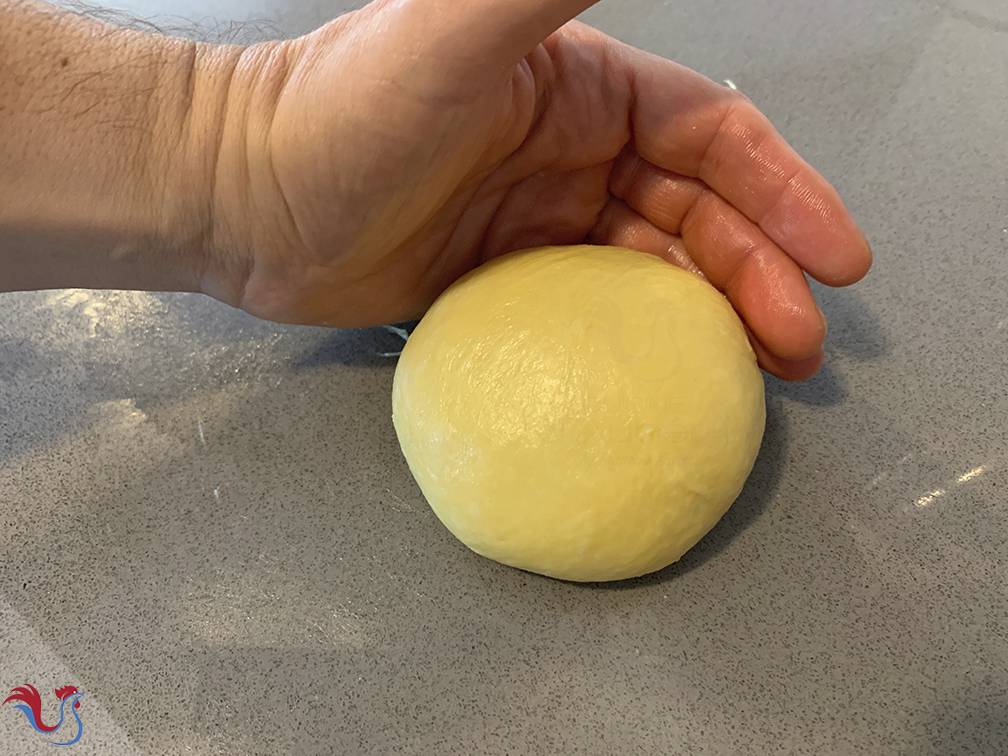
34. Form a ball of dough : this animated photo shows you how
35. Take one side and press it onto the center
The pan
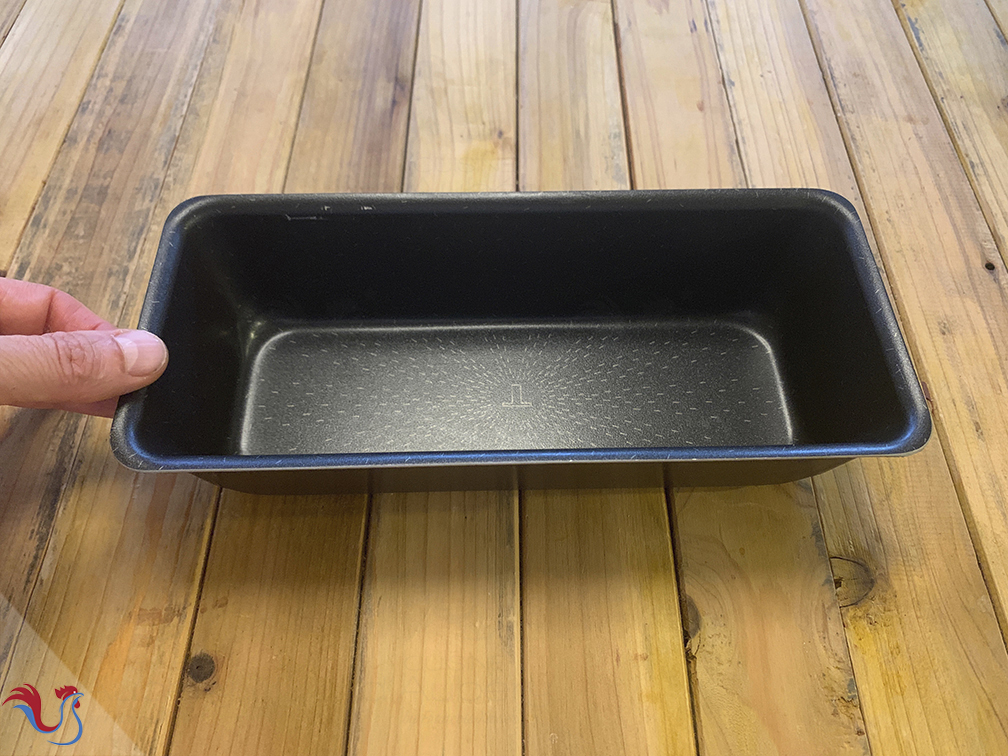
37. French bakers use a special pan called "moule de Nanterre", a loaf pan with deep straight sides. You may want to substitute with a bread loaf pan with deep sides
 Loaf Cake Pan, Adjustable Range
 Nonstick Loaf Pan 10-inch
 Norpro Nonstick Bread Pan, 10″ x 4.5″
38. I highly recommend a non stick pan. When using a metal pan, the brioche can stick to the pan.
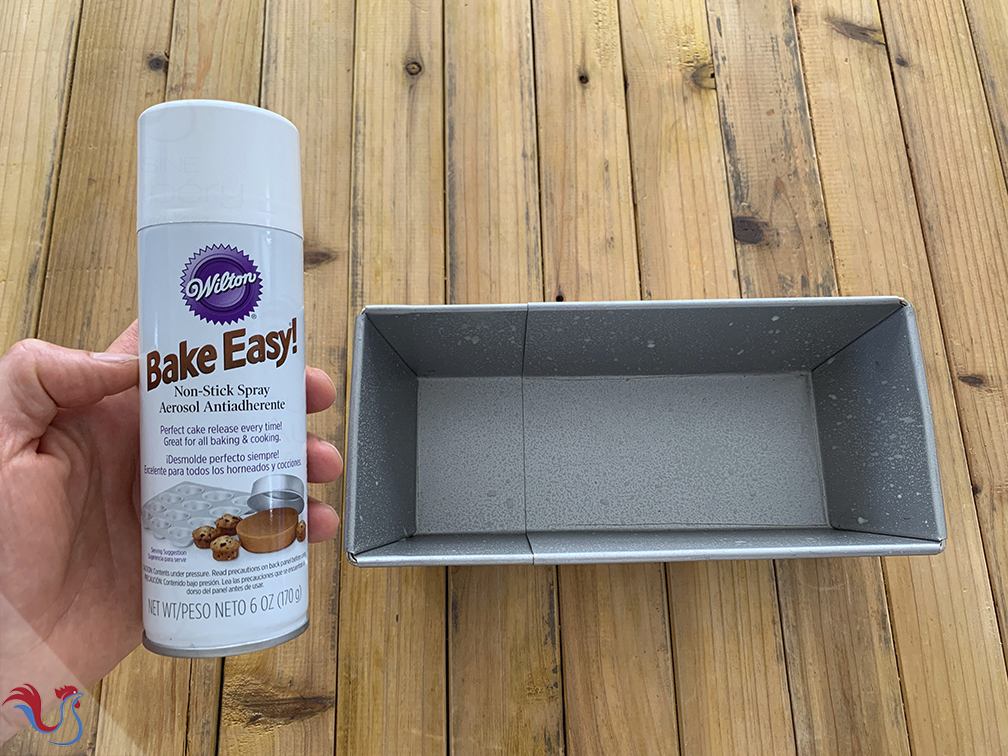
39. To make sure the brioche will not stick to the pan, you may spray with a Cooking spray
40. You may also butter and flour the pan
 Sunflower Oil Cooking Spray
 Avocado Oil Spray
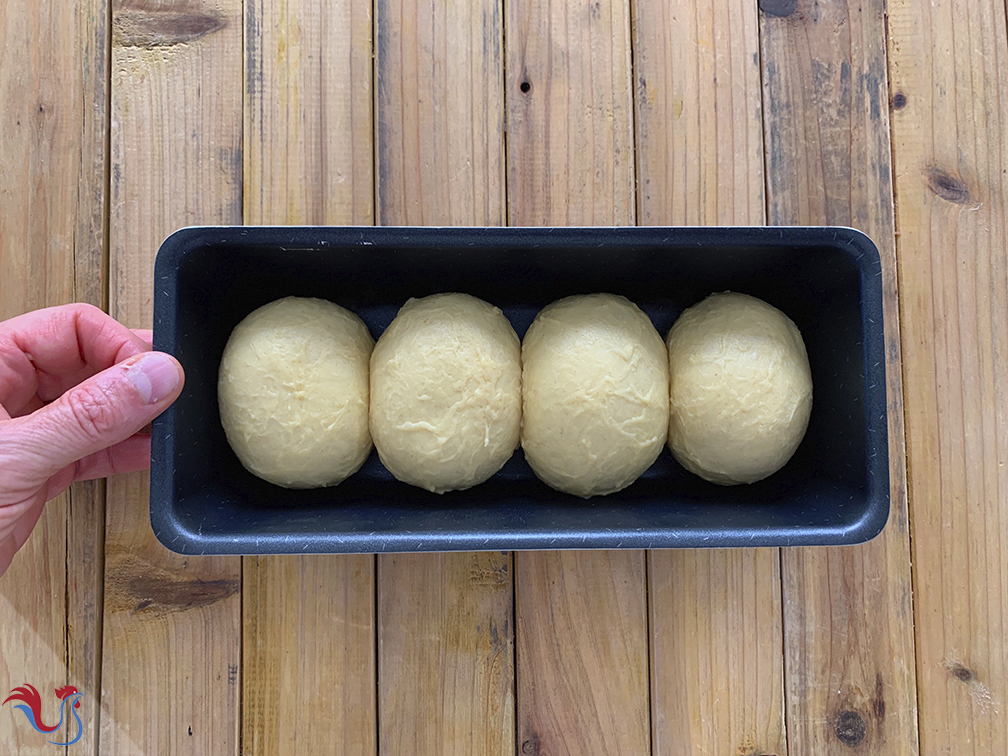
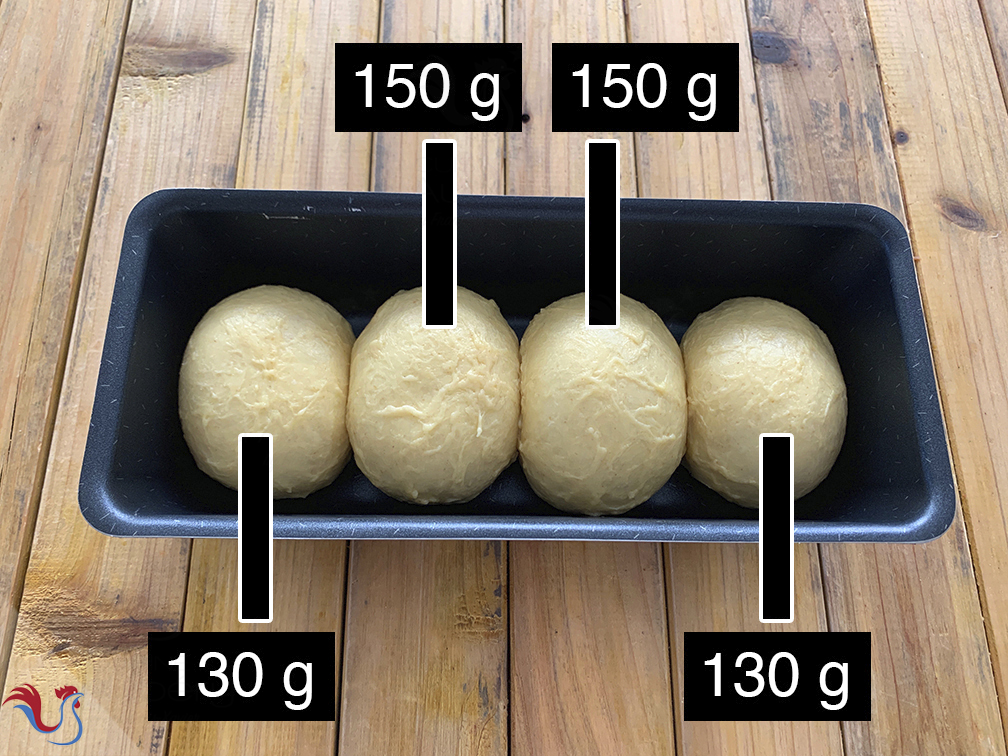
42. If you followed my trick of different ball sizes, place the 2 smallest balls on the side of the pan, and the biggest ones in the center
43. For a 11.81" (or 11 13/16" or 30 cm) x 4.33" (or 4 21/64" or 11 cm) pan, here's the layout:
44. And for a 11.02" (or 11 1/32" or 28 cm) x 4.72" (or 4 23/32" or 12 cm) pan, here's the layout:
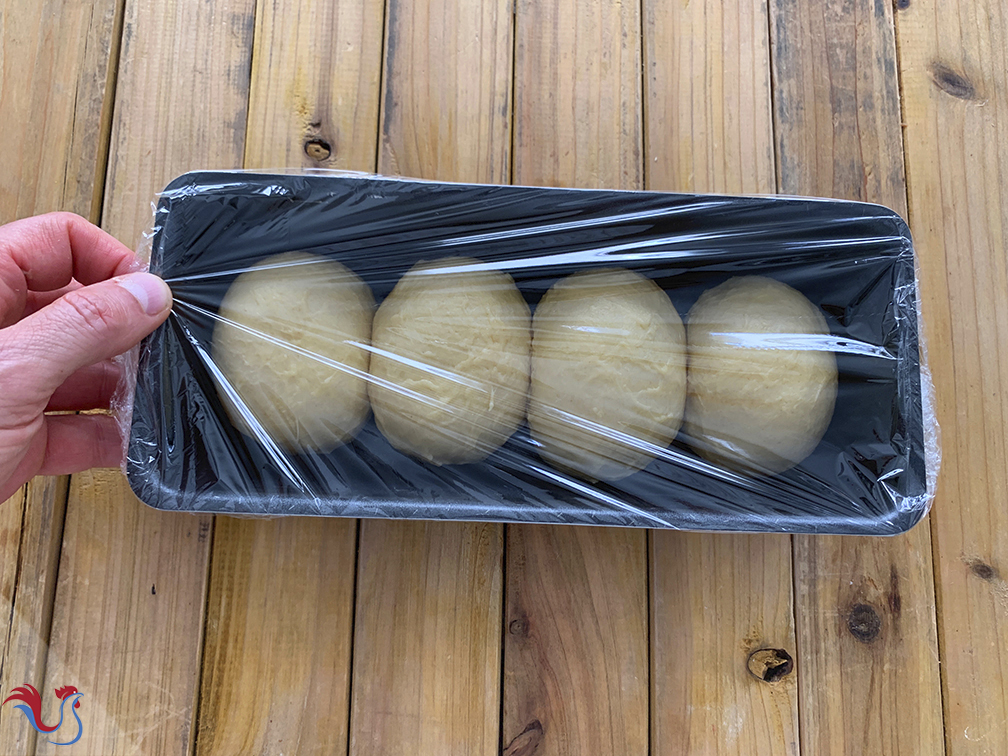
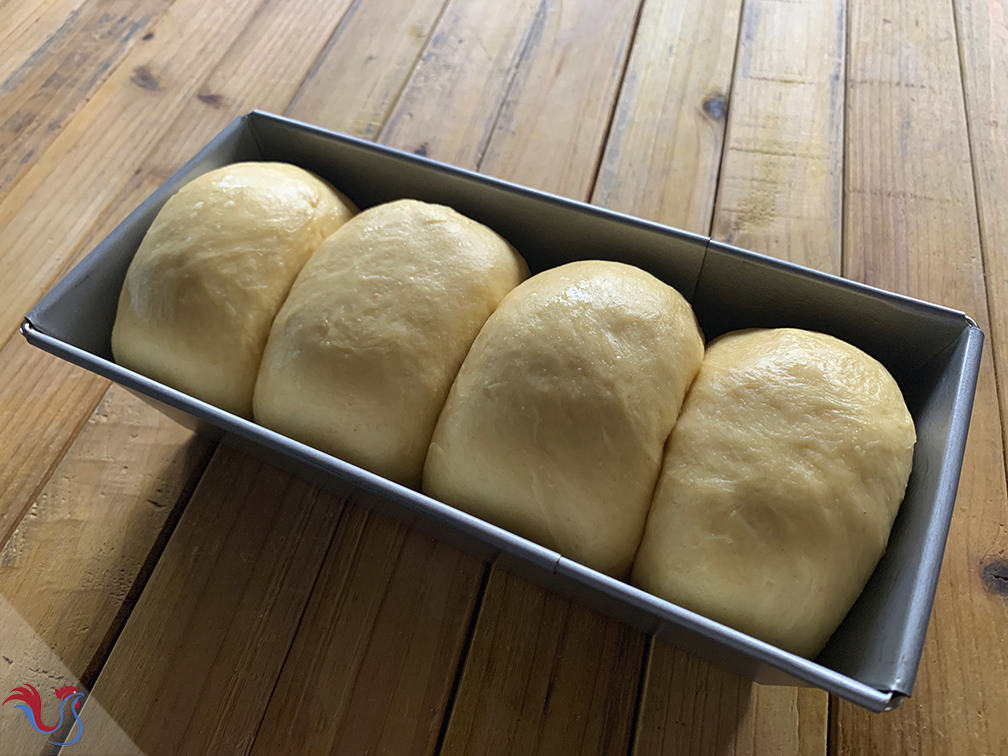
46. Wait until the brioche dough proofs. The time needed depends on the ambiant temperature
47. During summer, this takes approx. 1 hour 30 minutes
48. During winter, place the pan on top of your cupboard for 1 hour 30 minutes to 2 hours 30 minutes
49. The danger is either to not let the brioche proof enough, or to over-proof it
50. Preheat the oven at 360 °F / 180 °C
51. Start mix the Egg (1), and use it to egg wash the brioche
 Ninja Food Chopper Express
 Immersion Multi-Purpose Hand Blender
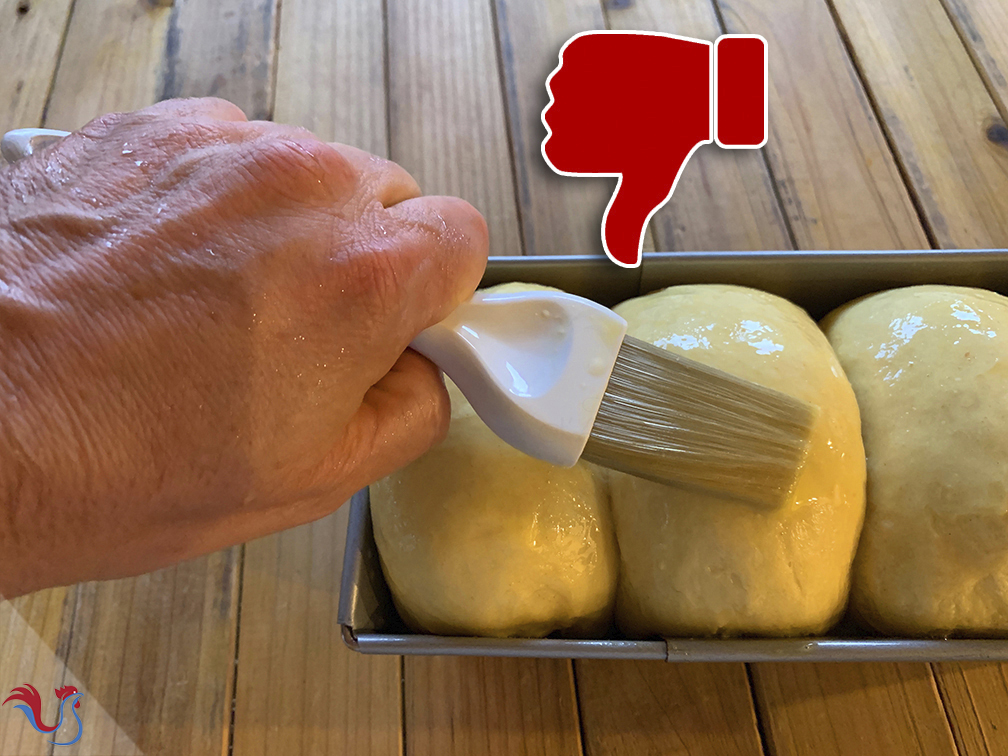
52. Use a pastry brush to egg wash
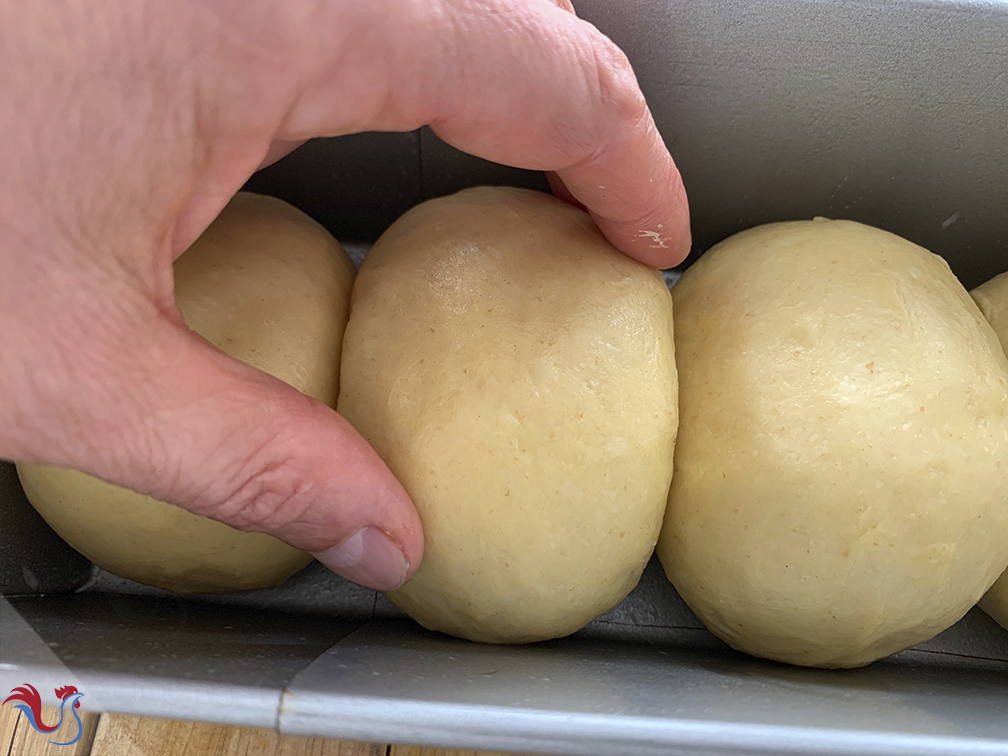
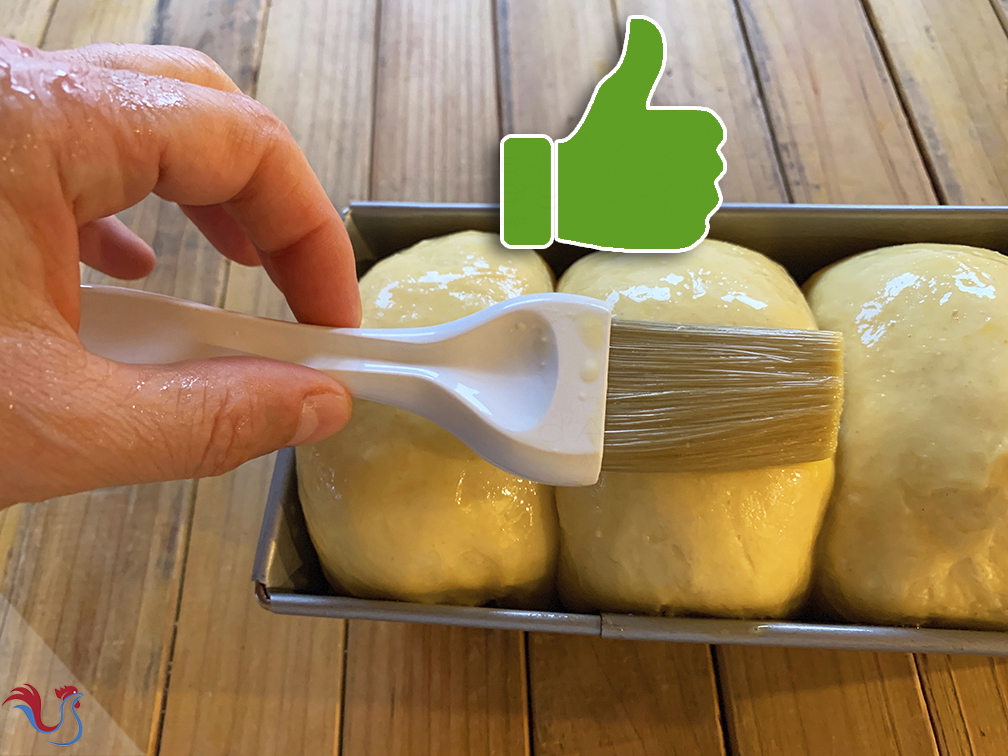
53. Hold the brush carefully. Do not press ! It would deflate the brioche
 Pastry Brush
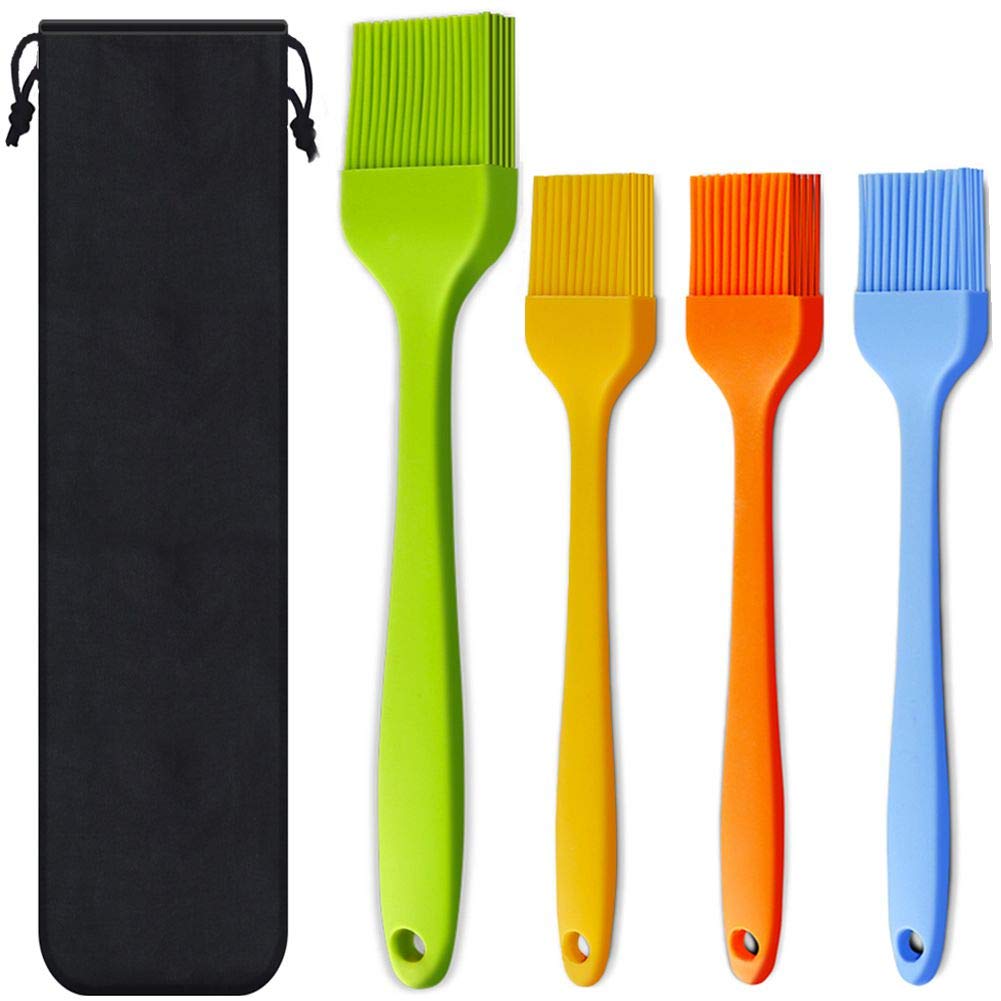 Silicone Brush, Heat Resistant for Pastry and Barbecue
Shaping the balls
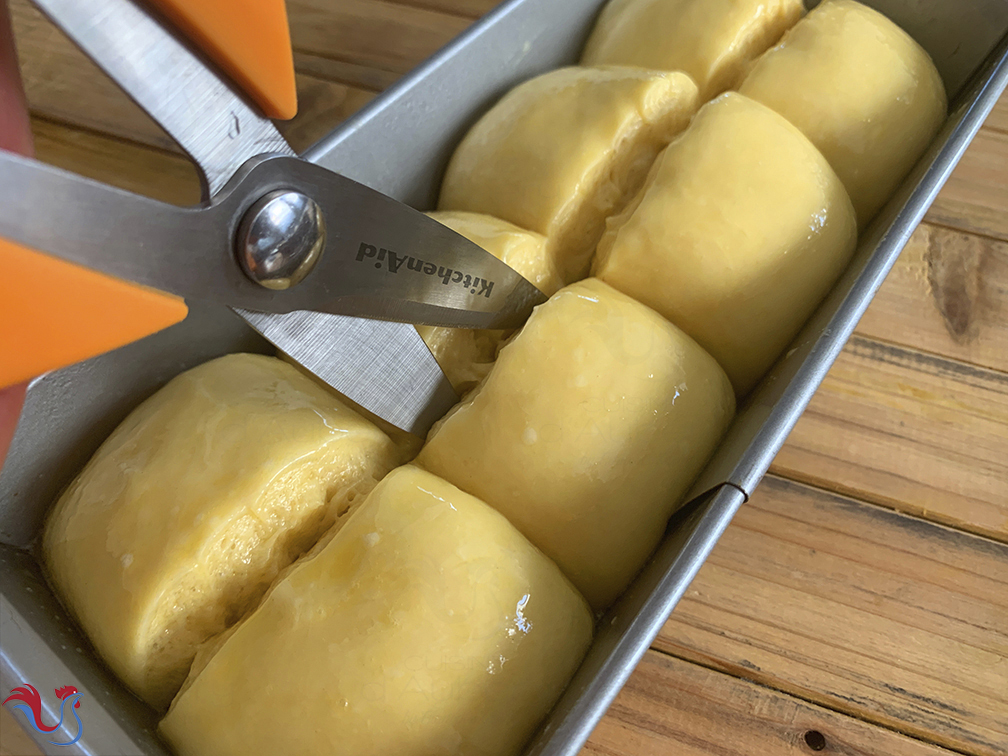
54. Here's how I learned to shape the balls, with my pastry teacher Stéphane Tréand as well at the Paul Bocuse cooking school: With a pair of scissors, cut (deeply) a line through the balls
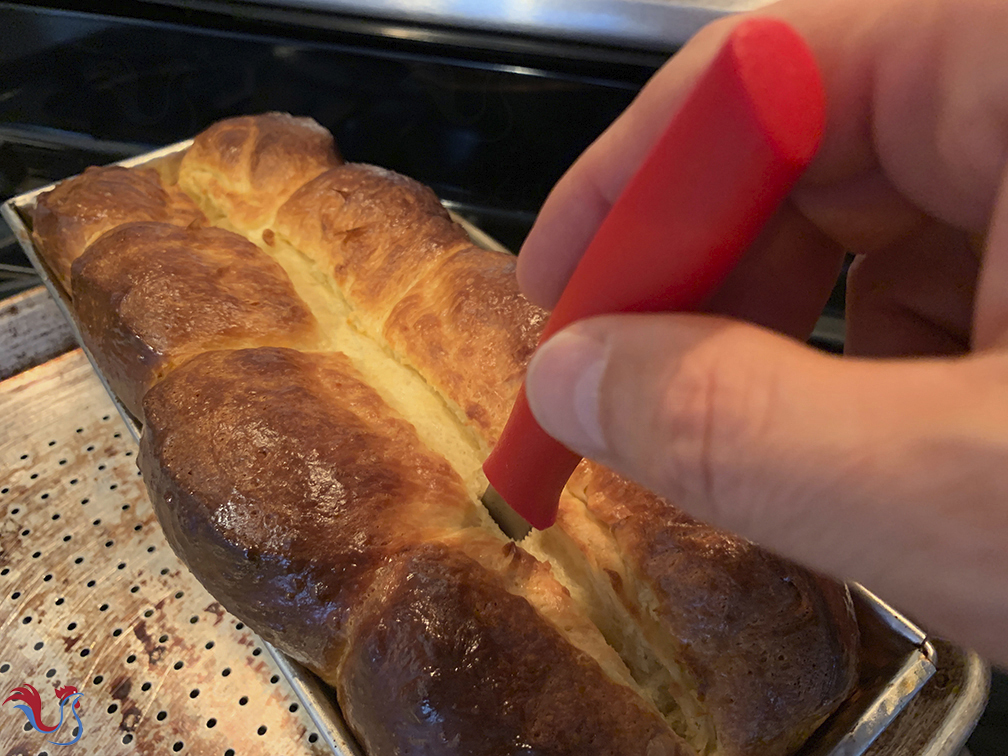
57. After 15 minutes, you may want to do another cut (more subtle this time and not as deep), and continue baking
Testing
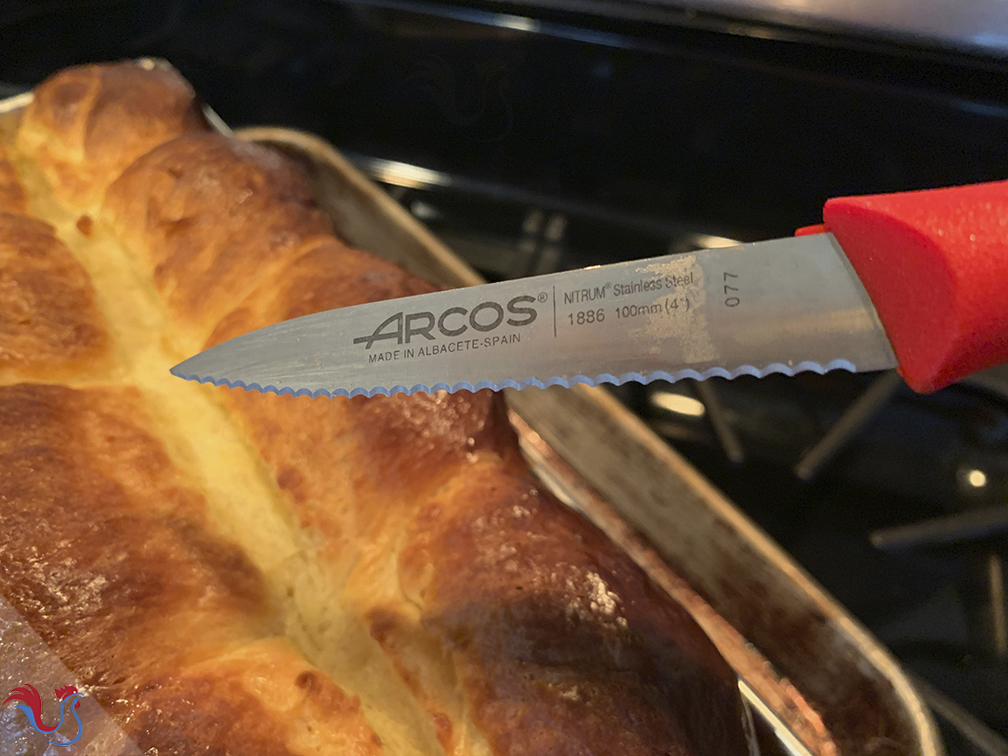
58. Towards the end, test the baking : Take a knife or toothpick to the centre of the brioche. If your toothpick or knife comes out wet , it’s not finished baking. If it comes out clean, just moist, it is finished!
 Round Cooling Rack
 Nonstick Cooling Rack
That's it !
Can be stored a few days, well wrapped with plastic wrap. Always keep it wrapped, as the brioche dries out really fast.


 French Version